Driving a sidecar motorcycle in Shanghai, China can be a bit challenging…. in the sense that cars, motorcycles, scooters, bicycles, and pedestrians do not follow any of the normal rules of the road… instead, you never know when you will be cut off by one pulling out in front of you, or people just popping out like deer. So having a loud horn is a must, and the louder the better! People will drive a scooter right through an intersection going the wrong way on a red light, so just because you have the right of way with a green light means nothing. So some cautionary honks are almost required when going through an intersection for the safety of everyone.
September, 2013
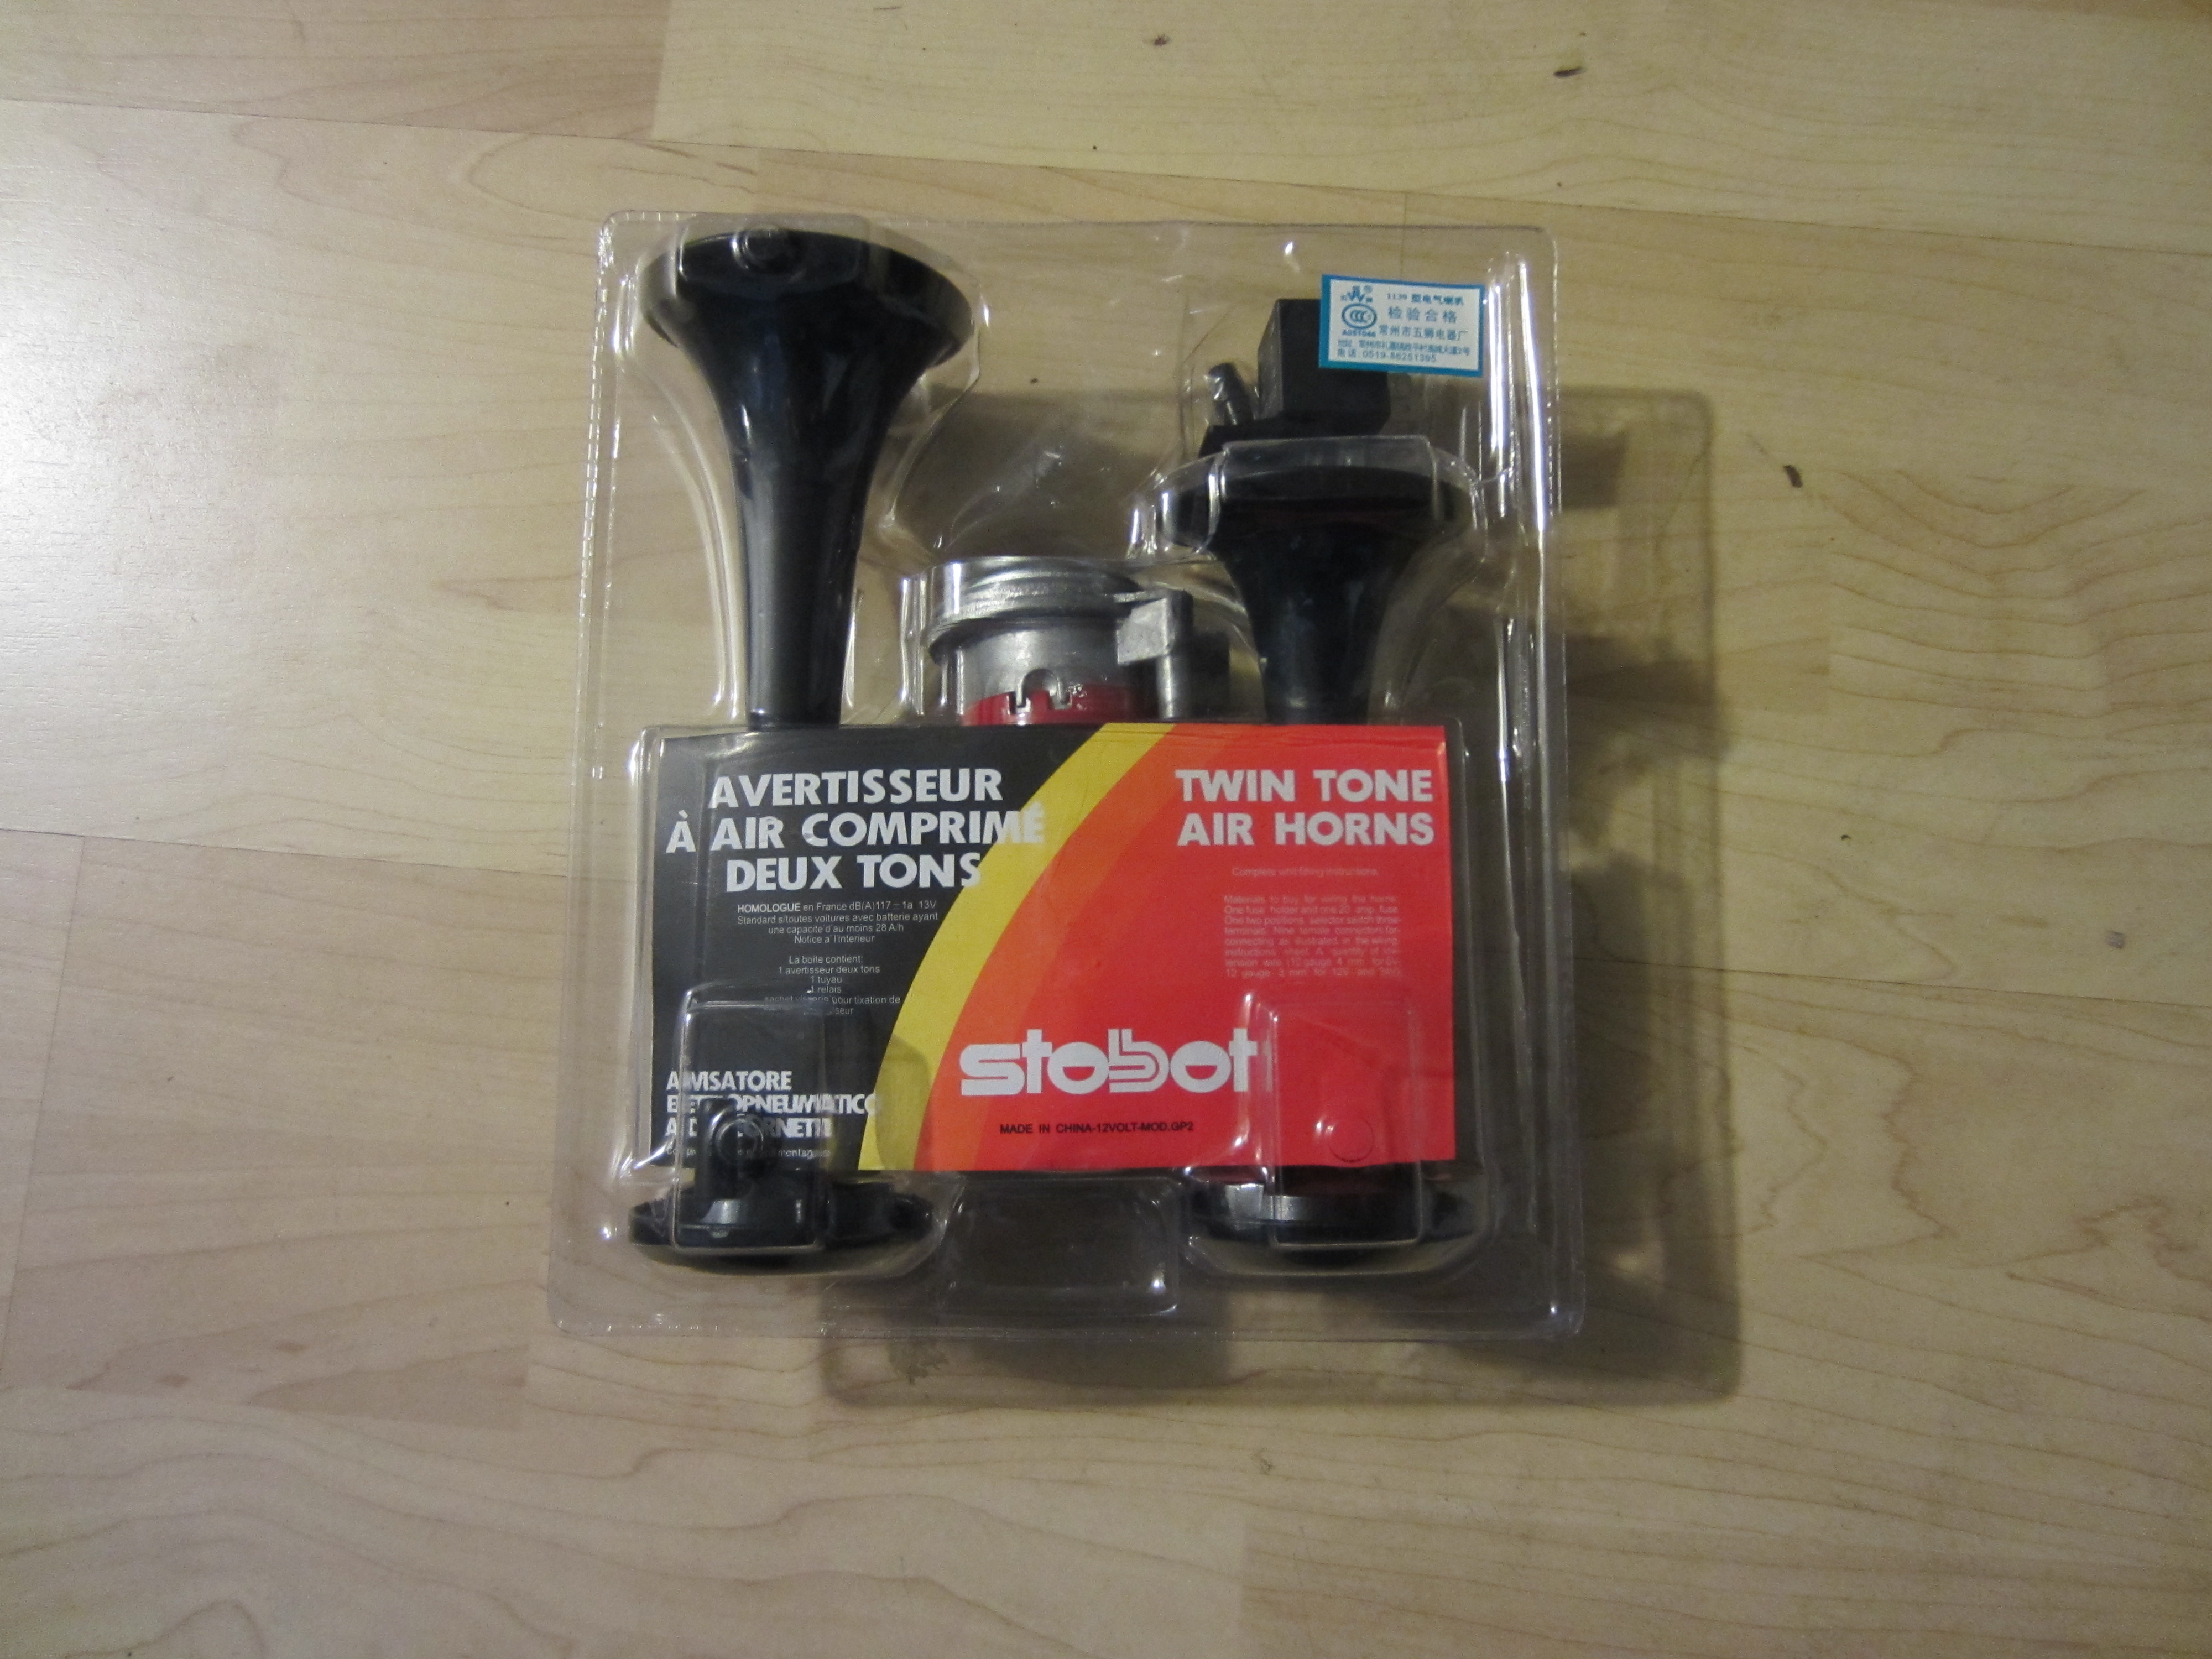
The air horn kit is sold at the scooter markets for around 35 rmb (~$6 USA), and you install it yourself. It comes with 2 horns, a tiny air compressor, a solenoid, some hose, Y-connector, and small brackets.
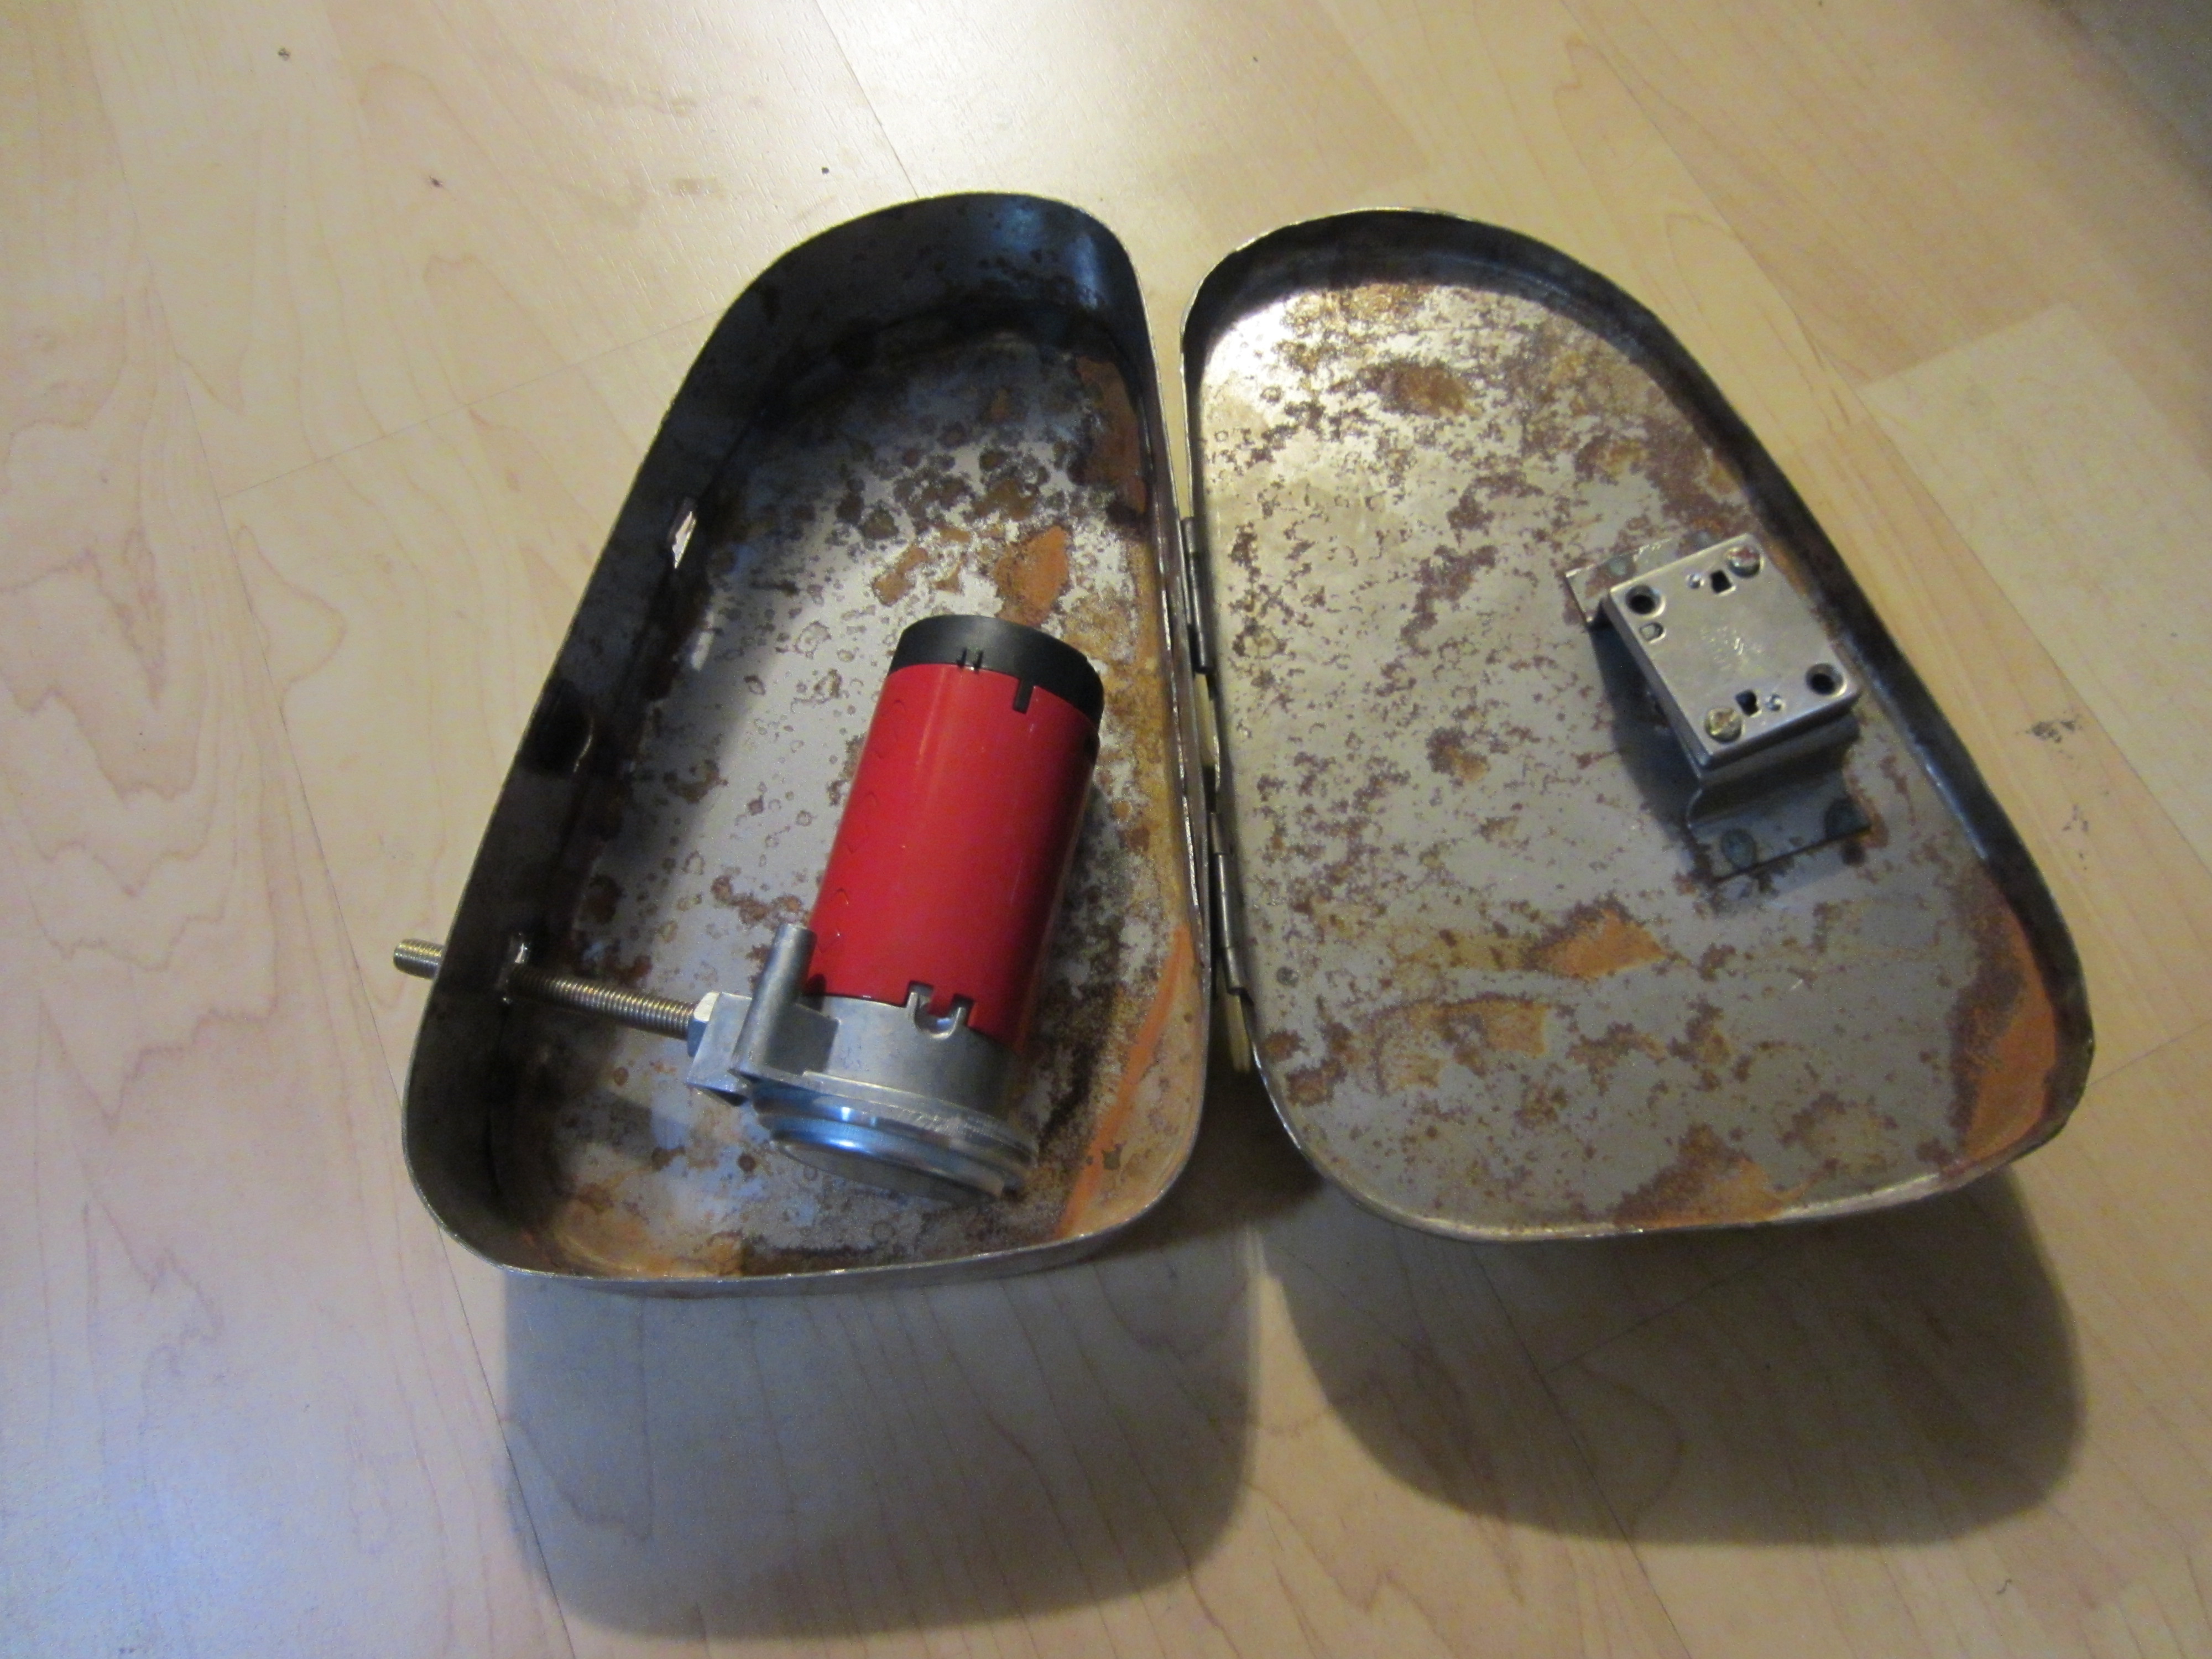
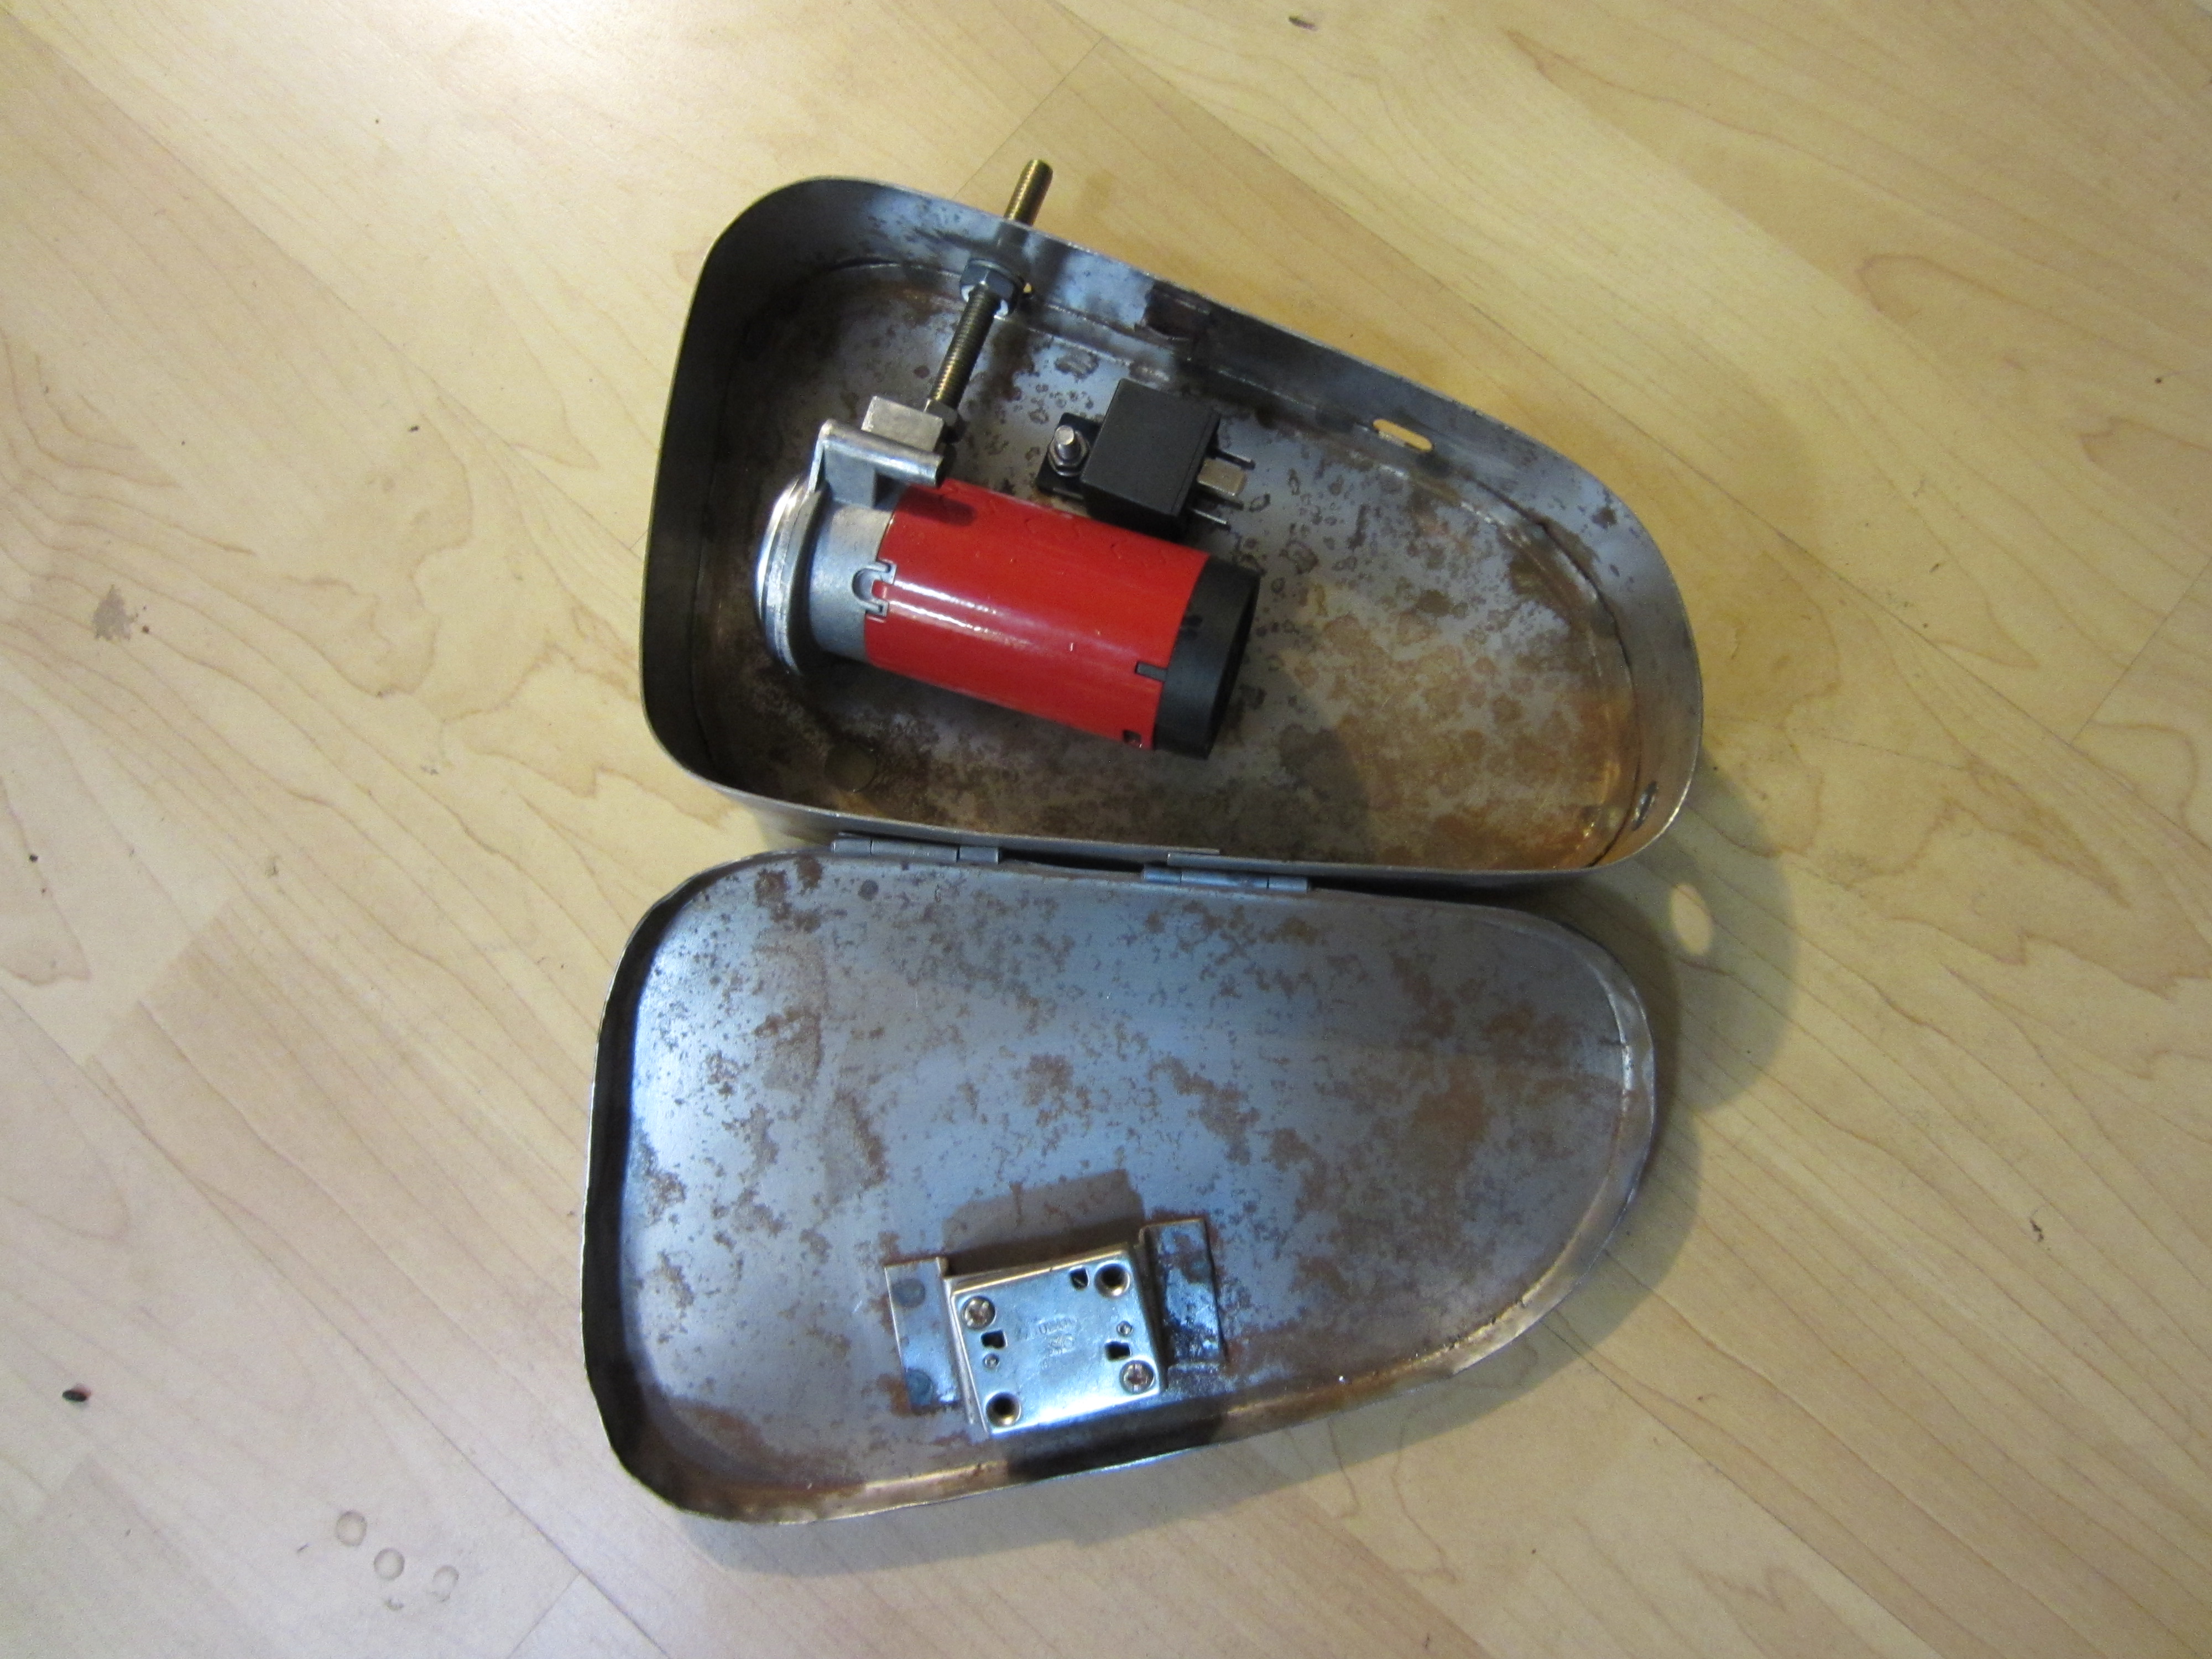
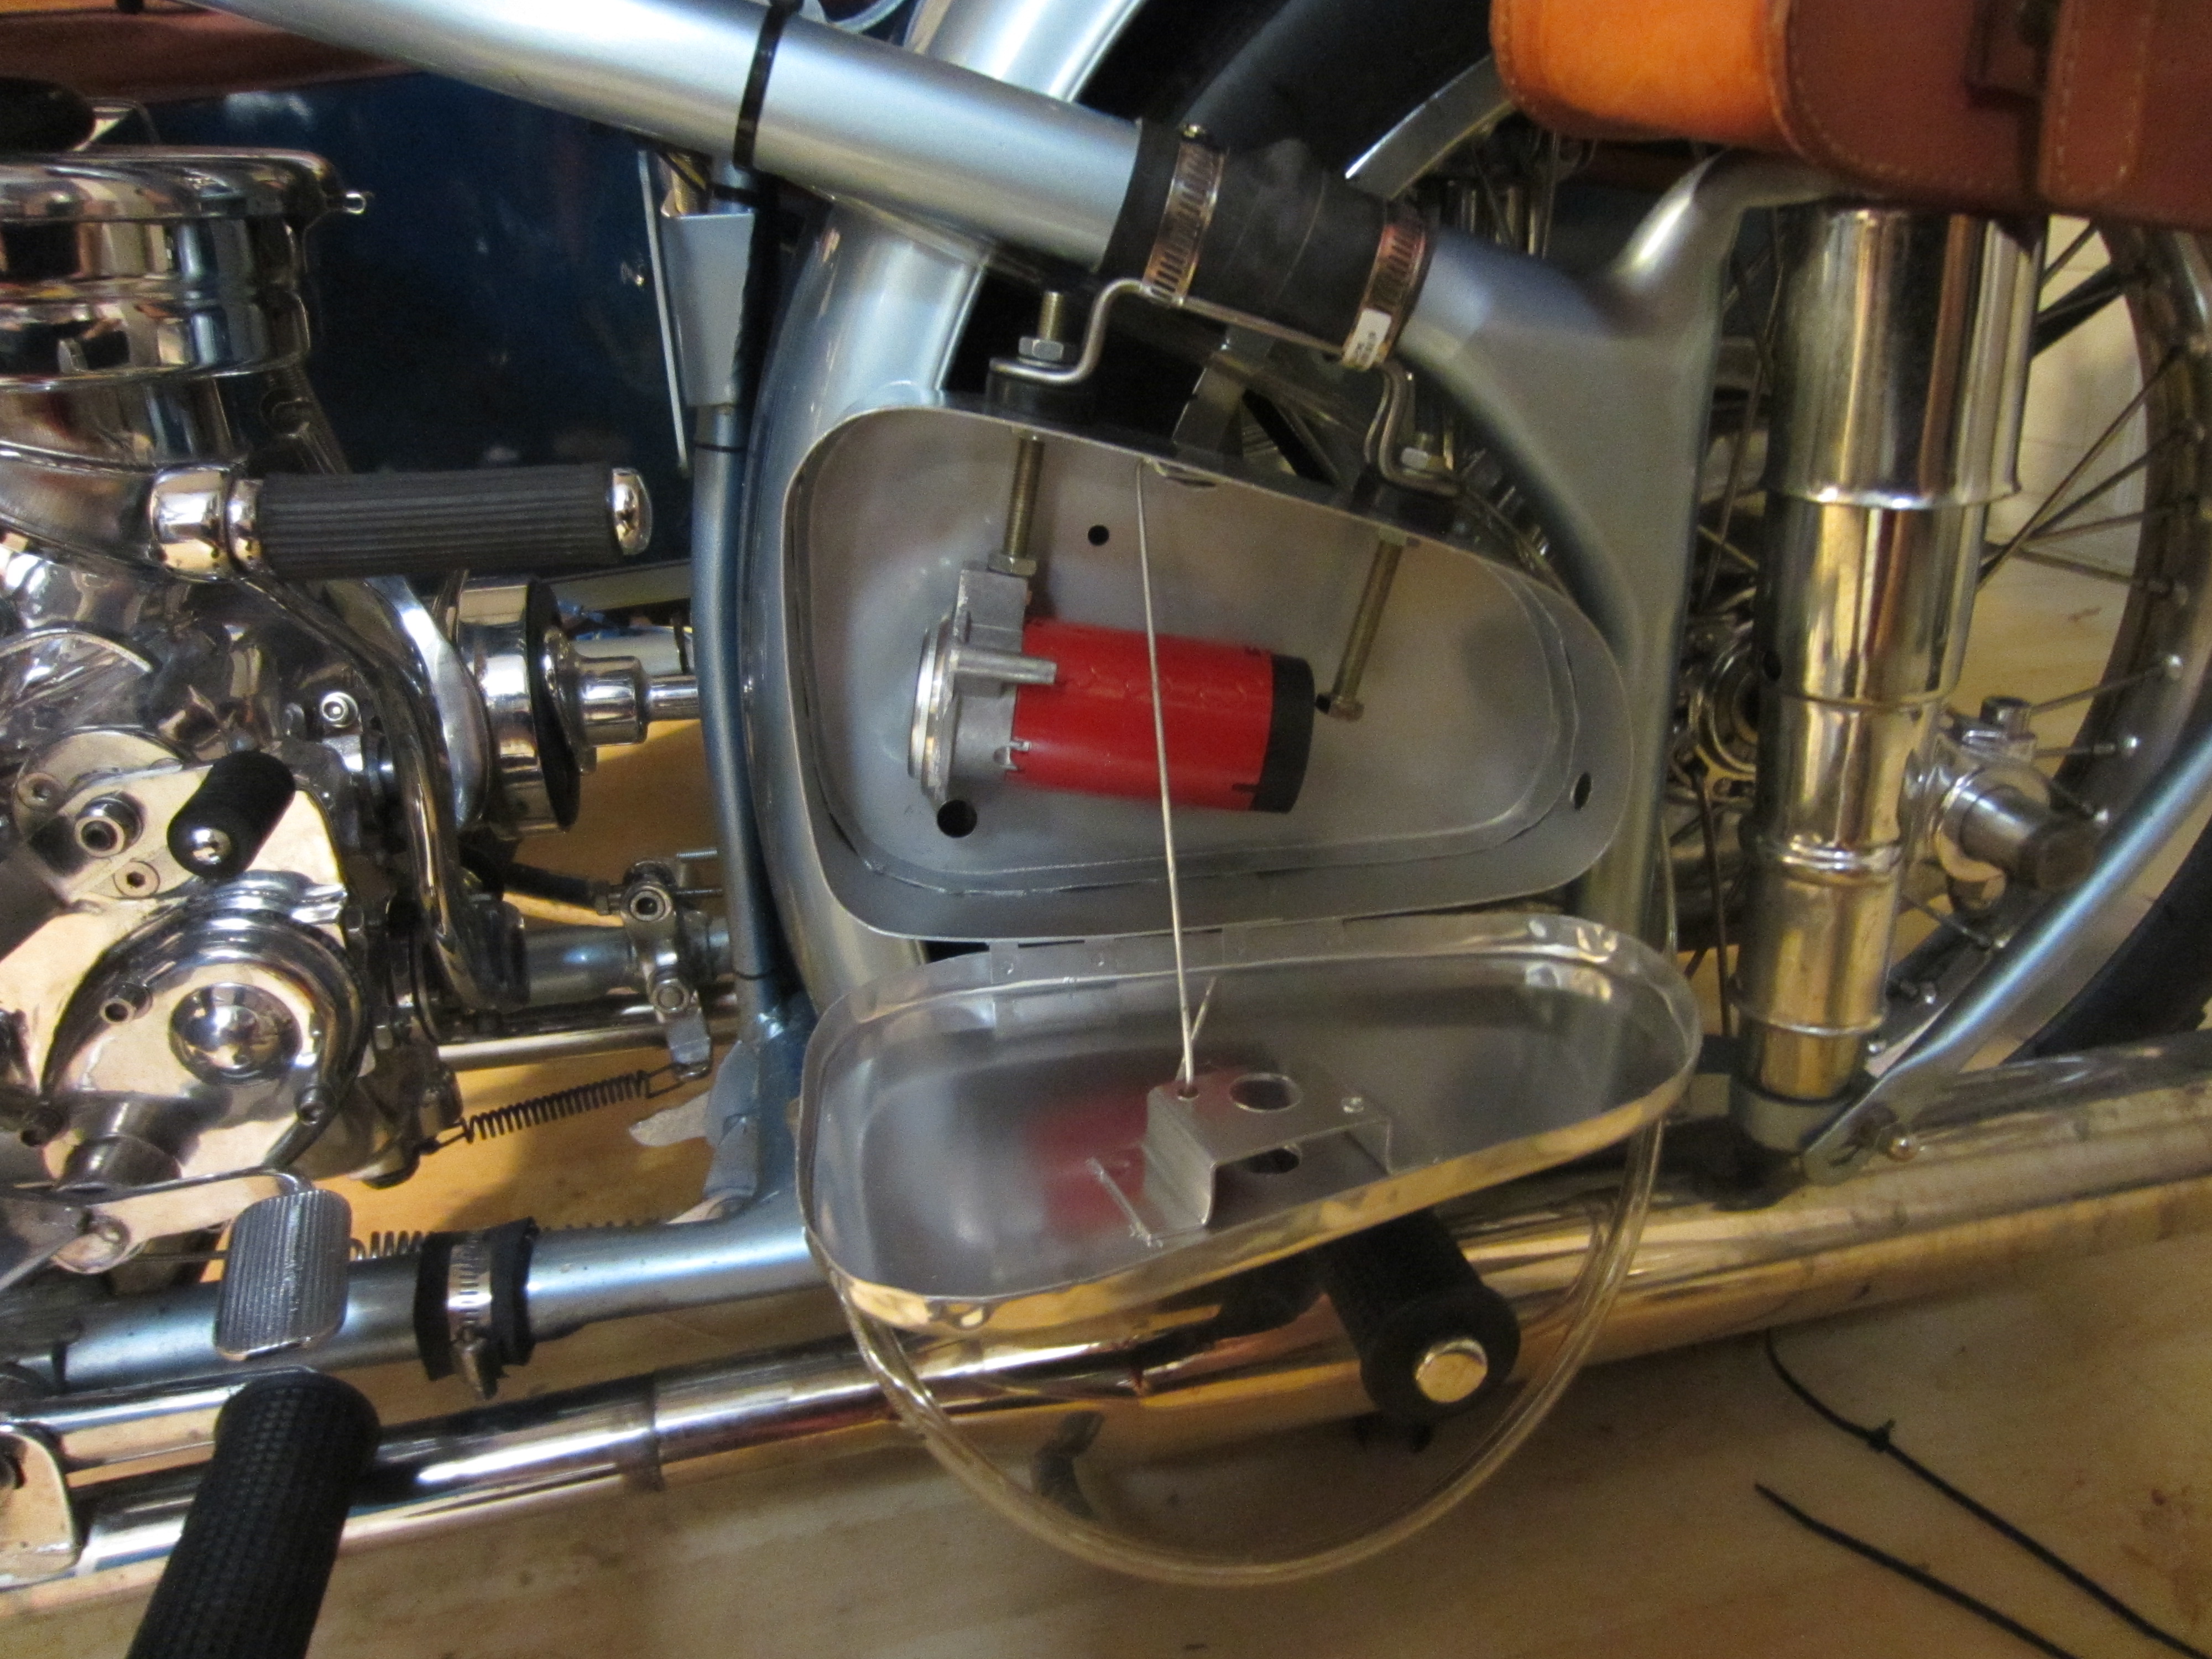
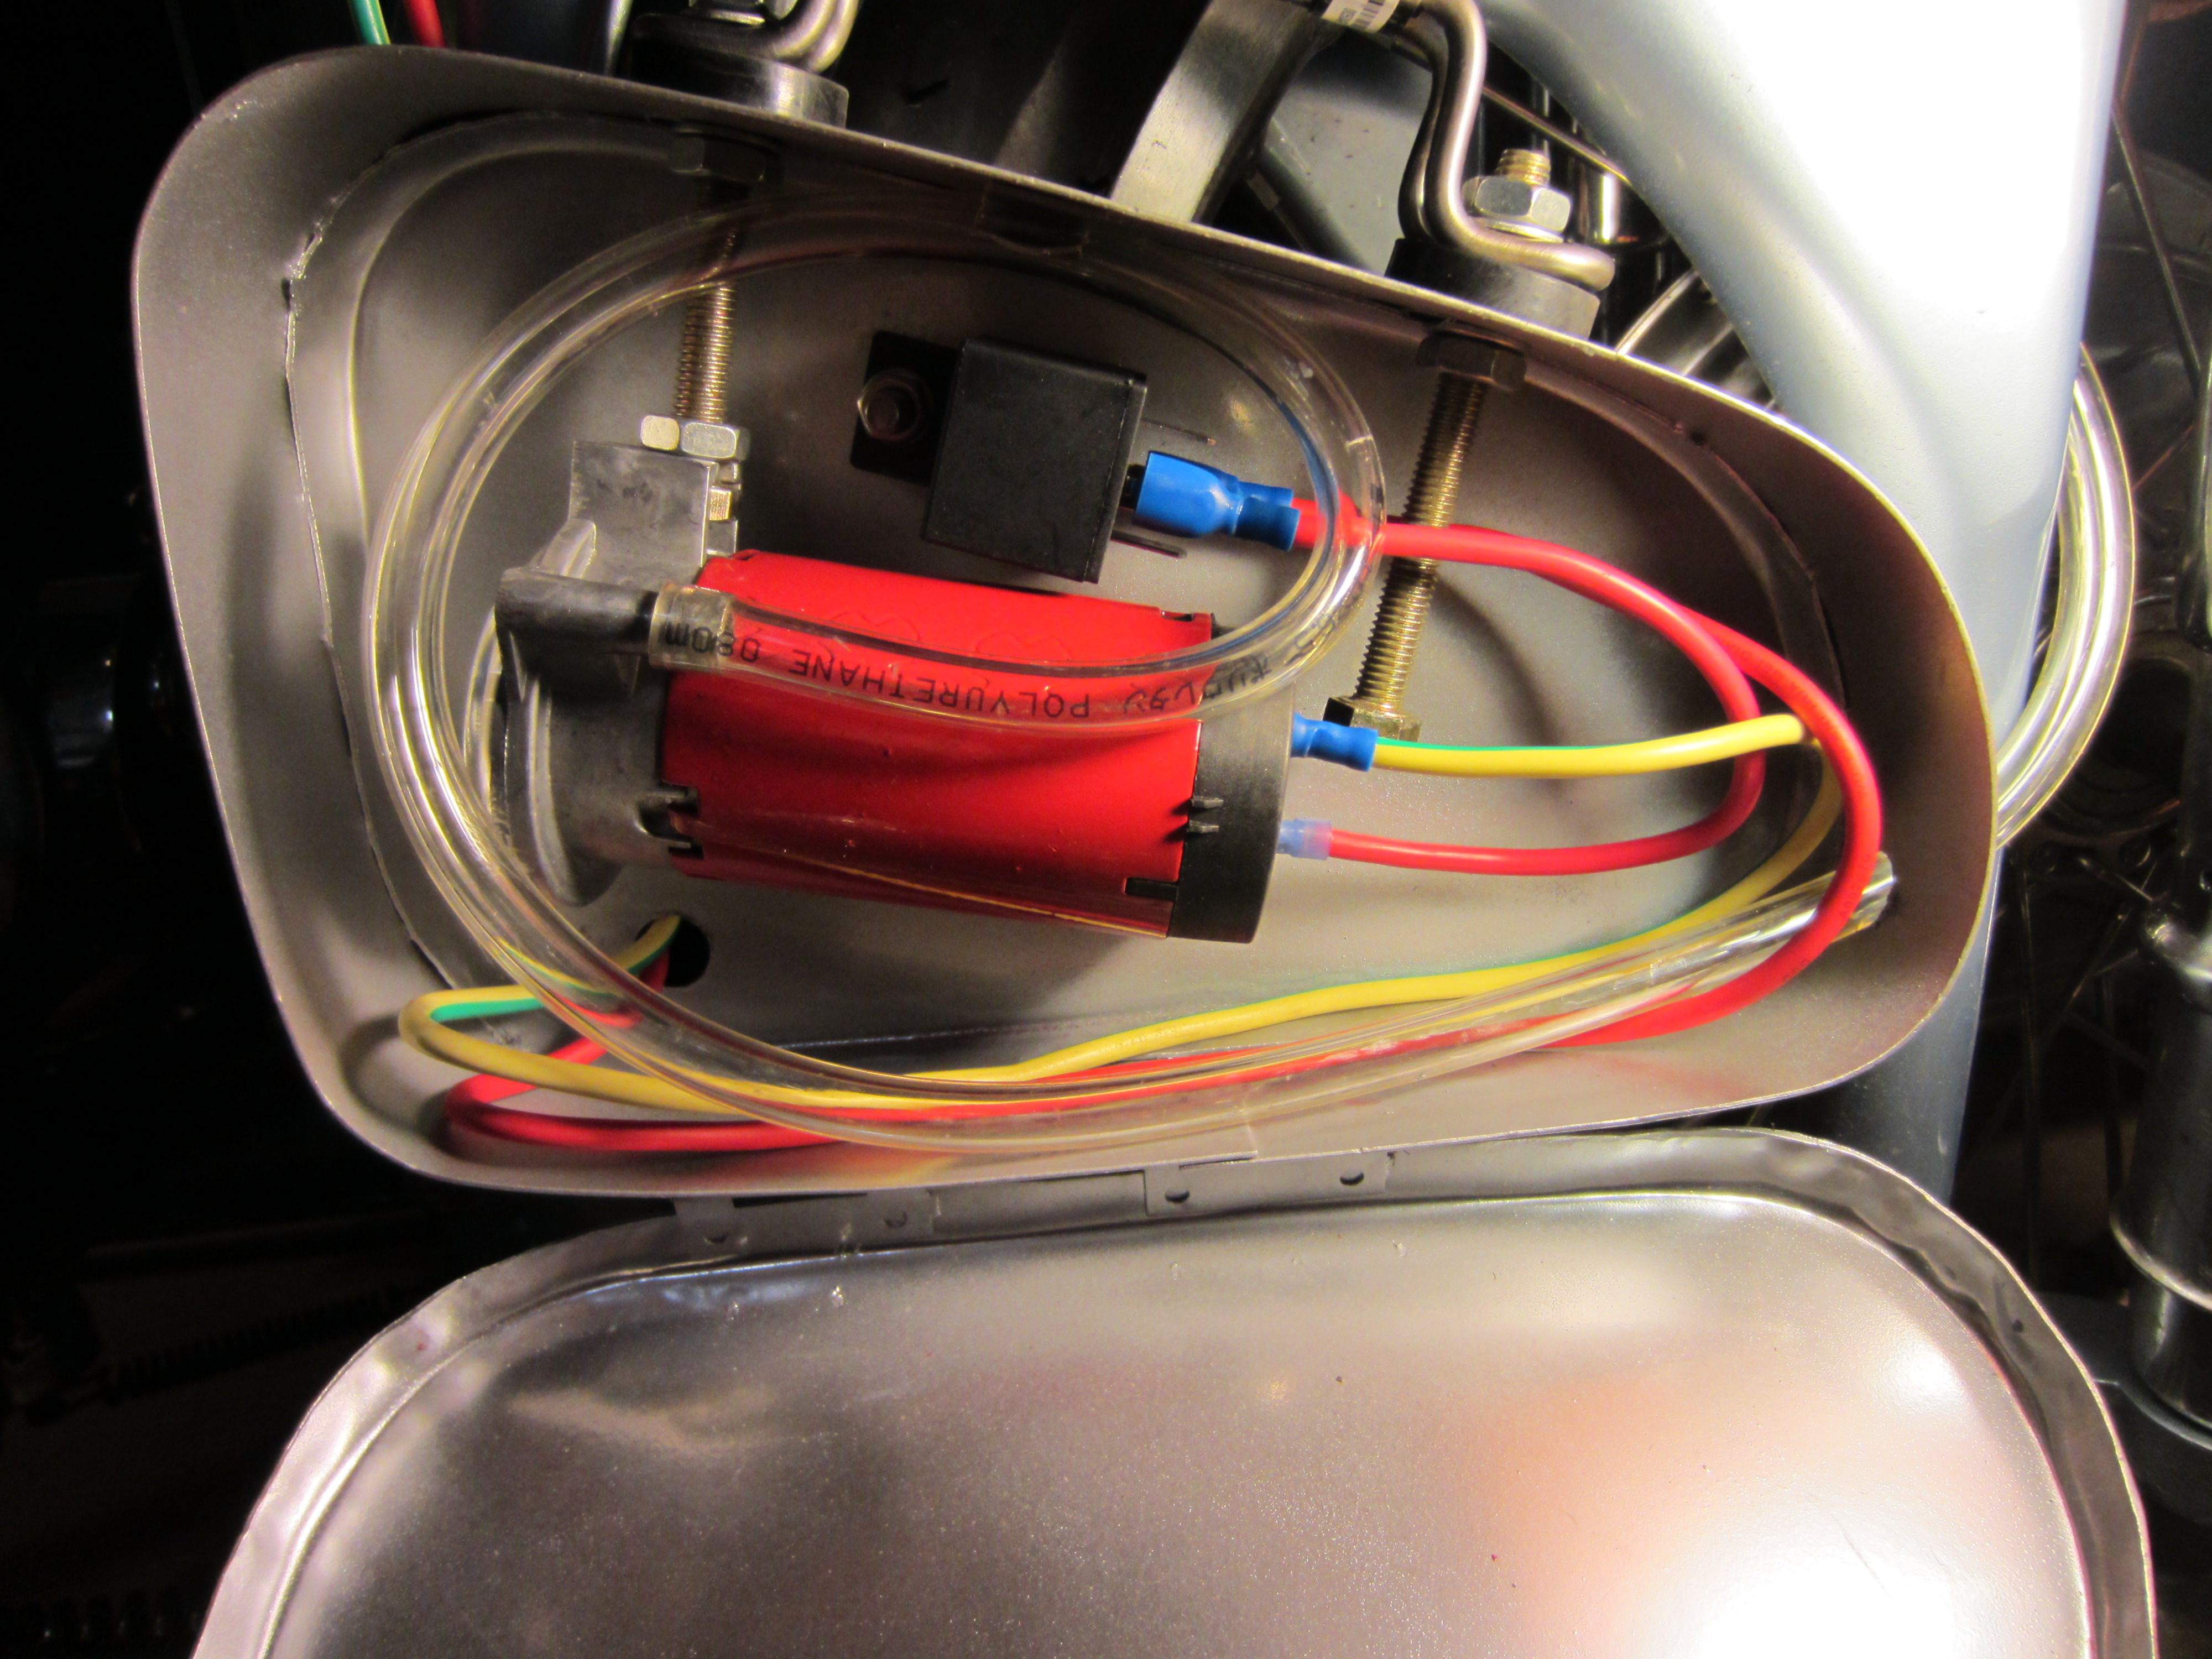
Next I needed to figure out where to place the air compressor, and not have it look like a crude add-on. Some guys put them in the trunk of the sidecar, but that makes it more difficult if you ever want to disconnect the sidecar. I ultimately decided to put it in the little toolbox that is normally on the left side of the bike. Unfortunately, mine didn’t come with that, I guess it got conveniently “forgotten” by the sidecar shop. I ordered a bare steel one from Ben at www.sidecarpro.com along with a bunch of other needed parts. The air compressor almost fit into the tool box:
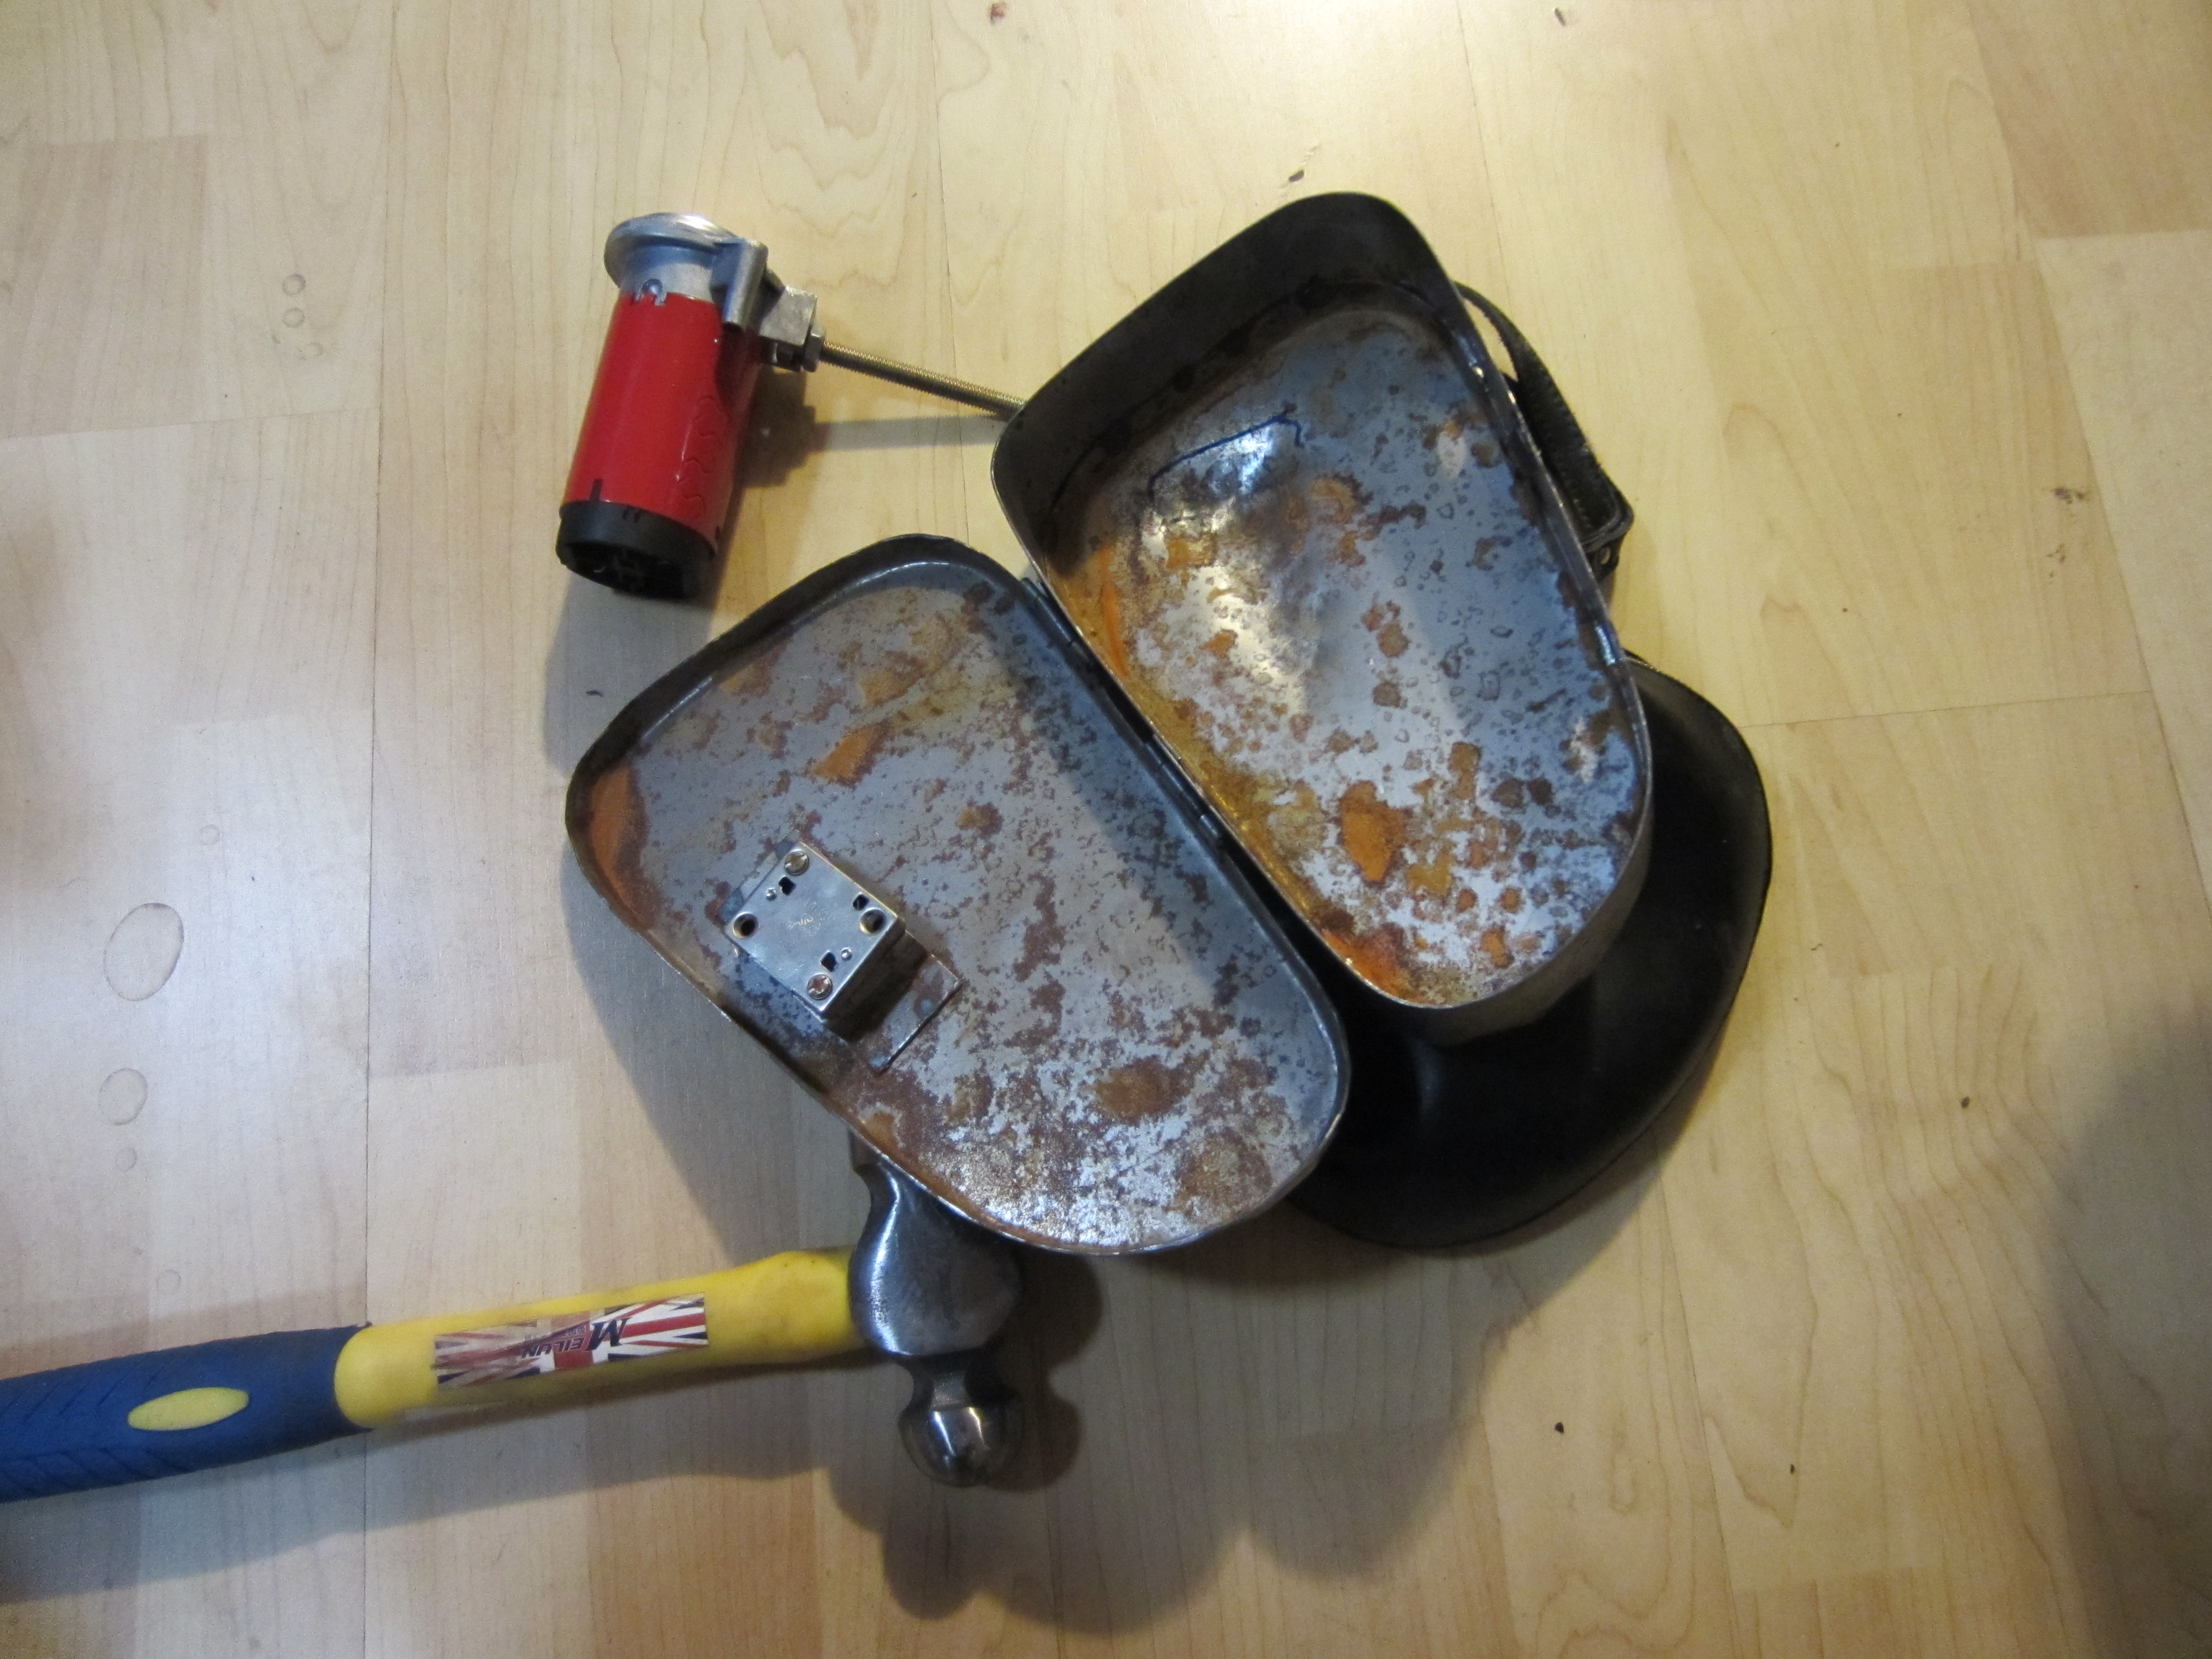
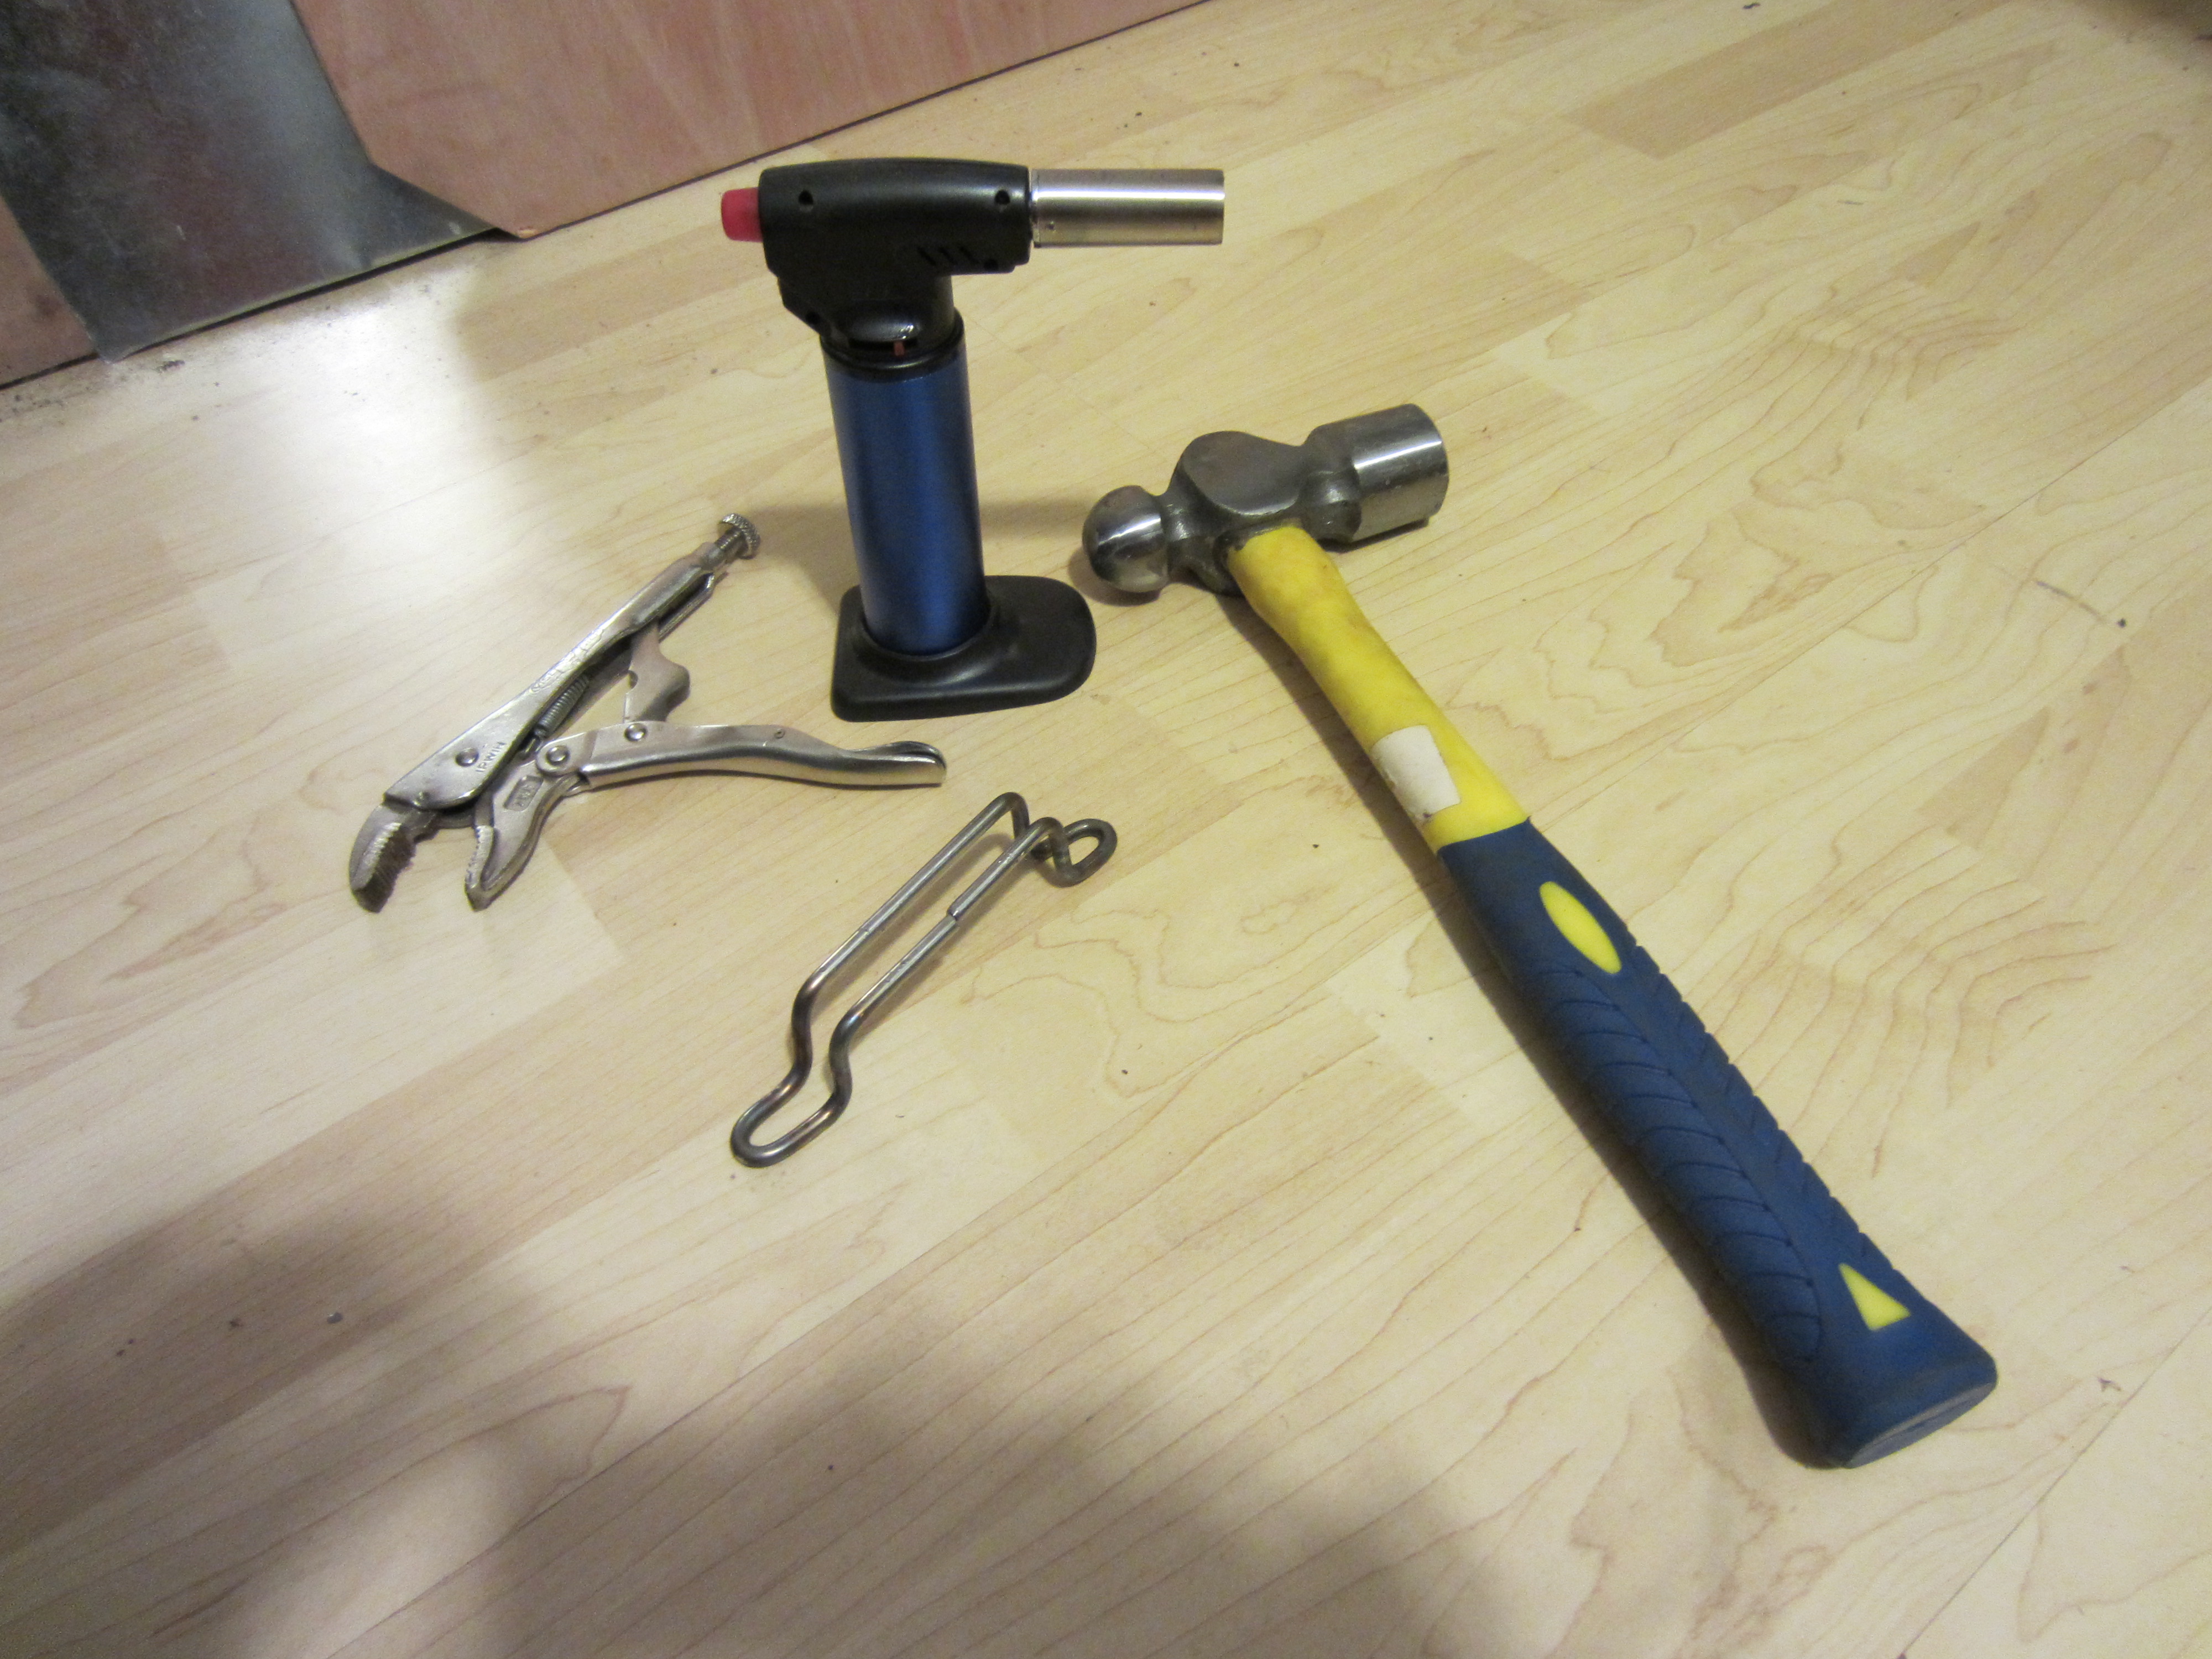
But not quite, so I got out the ball pein hammer and the shot bag, and made some more room!
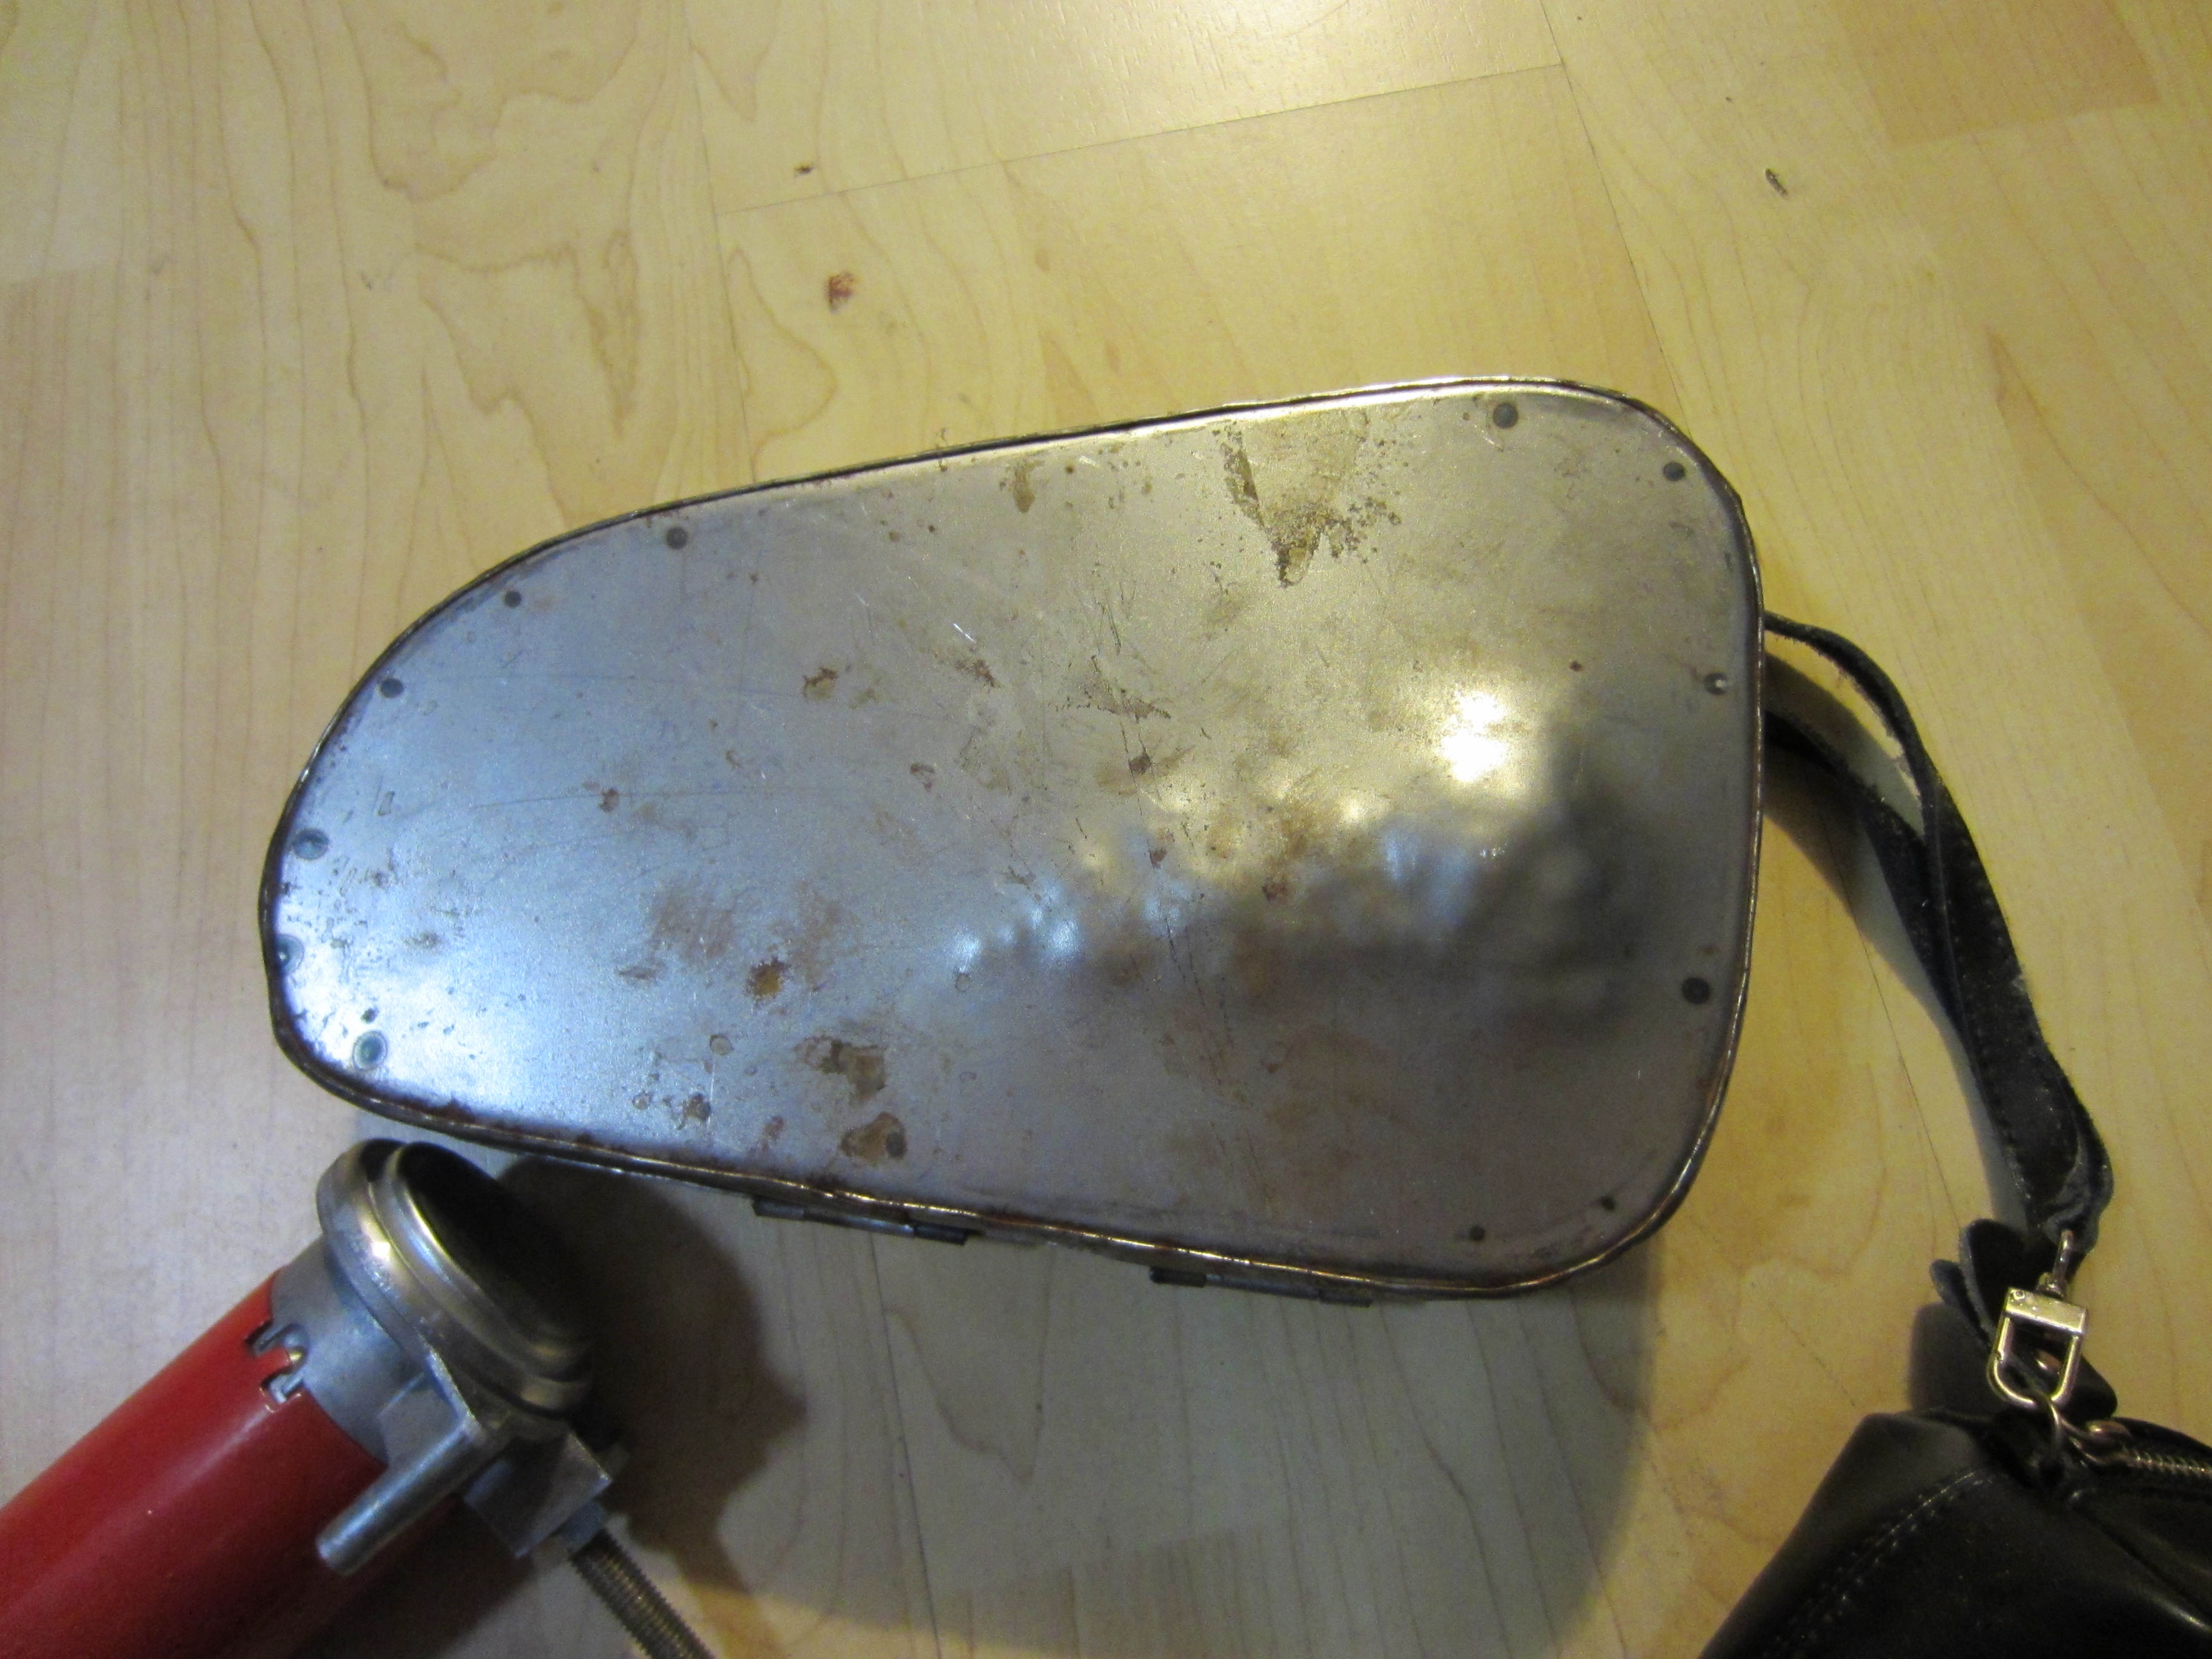
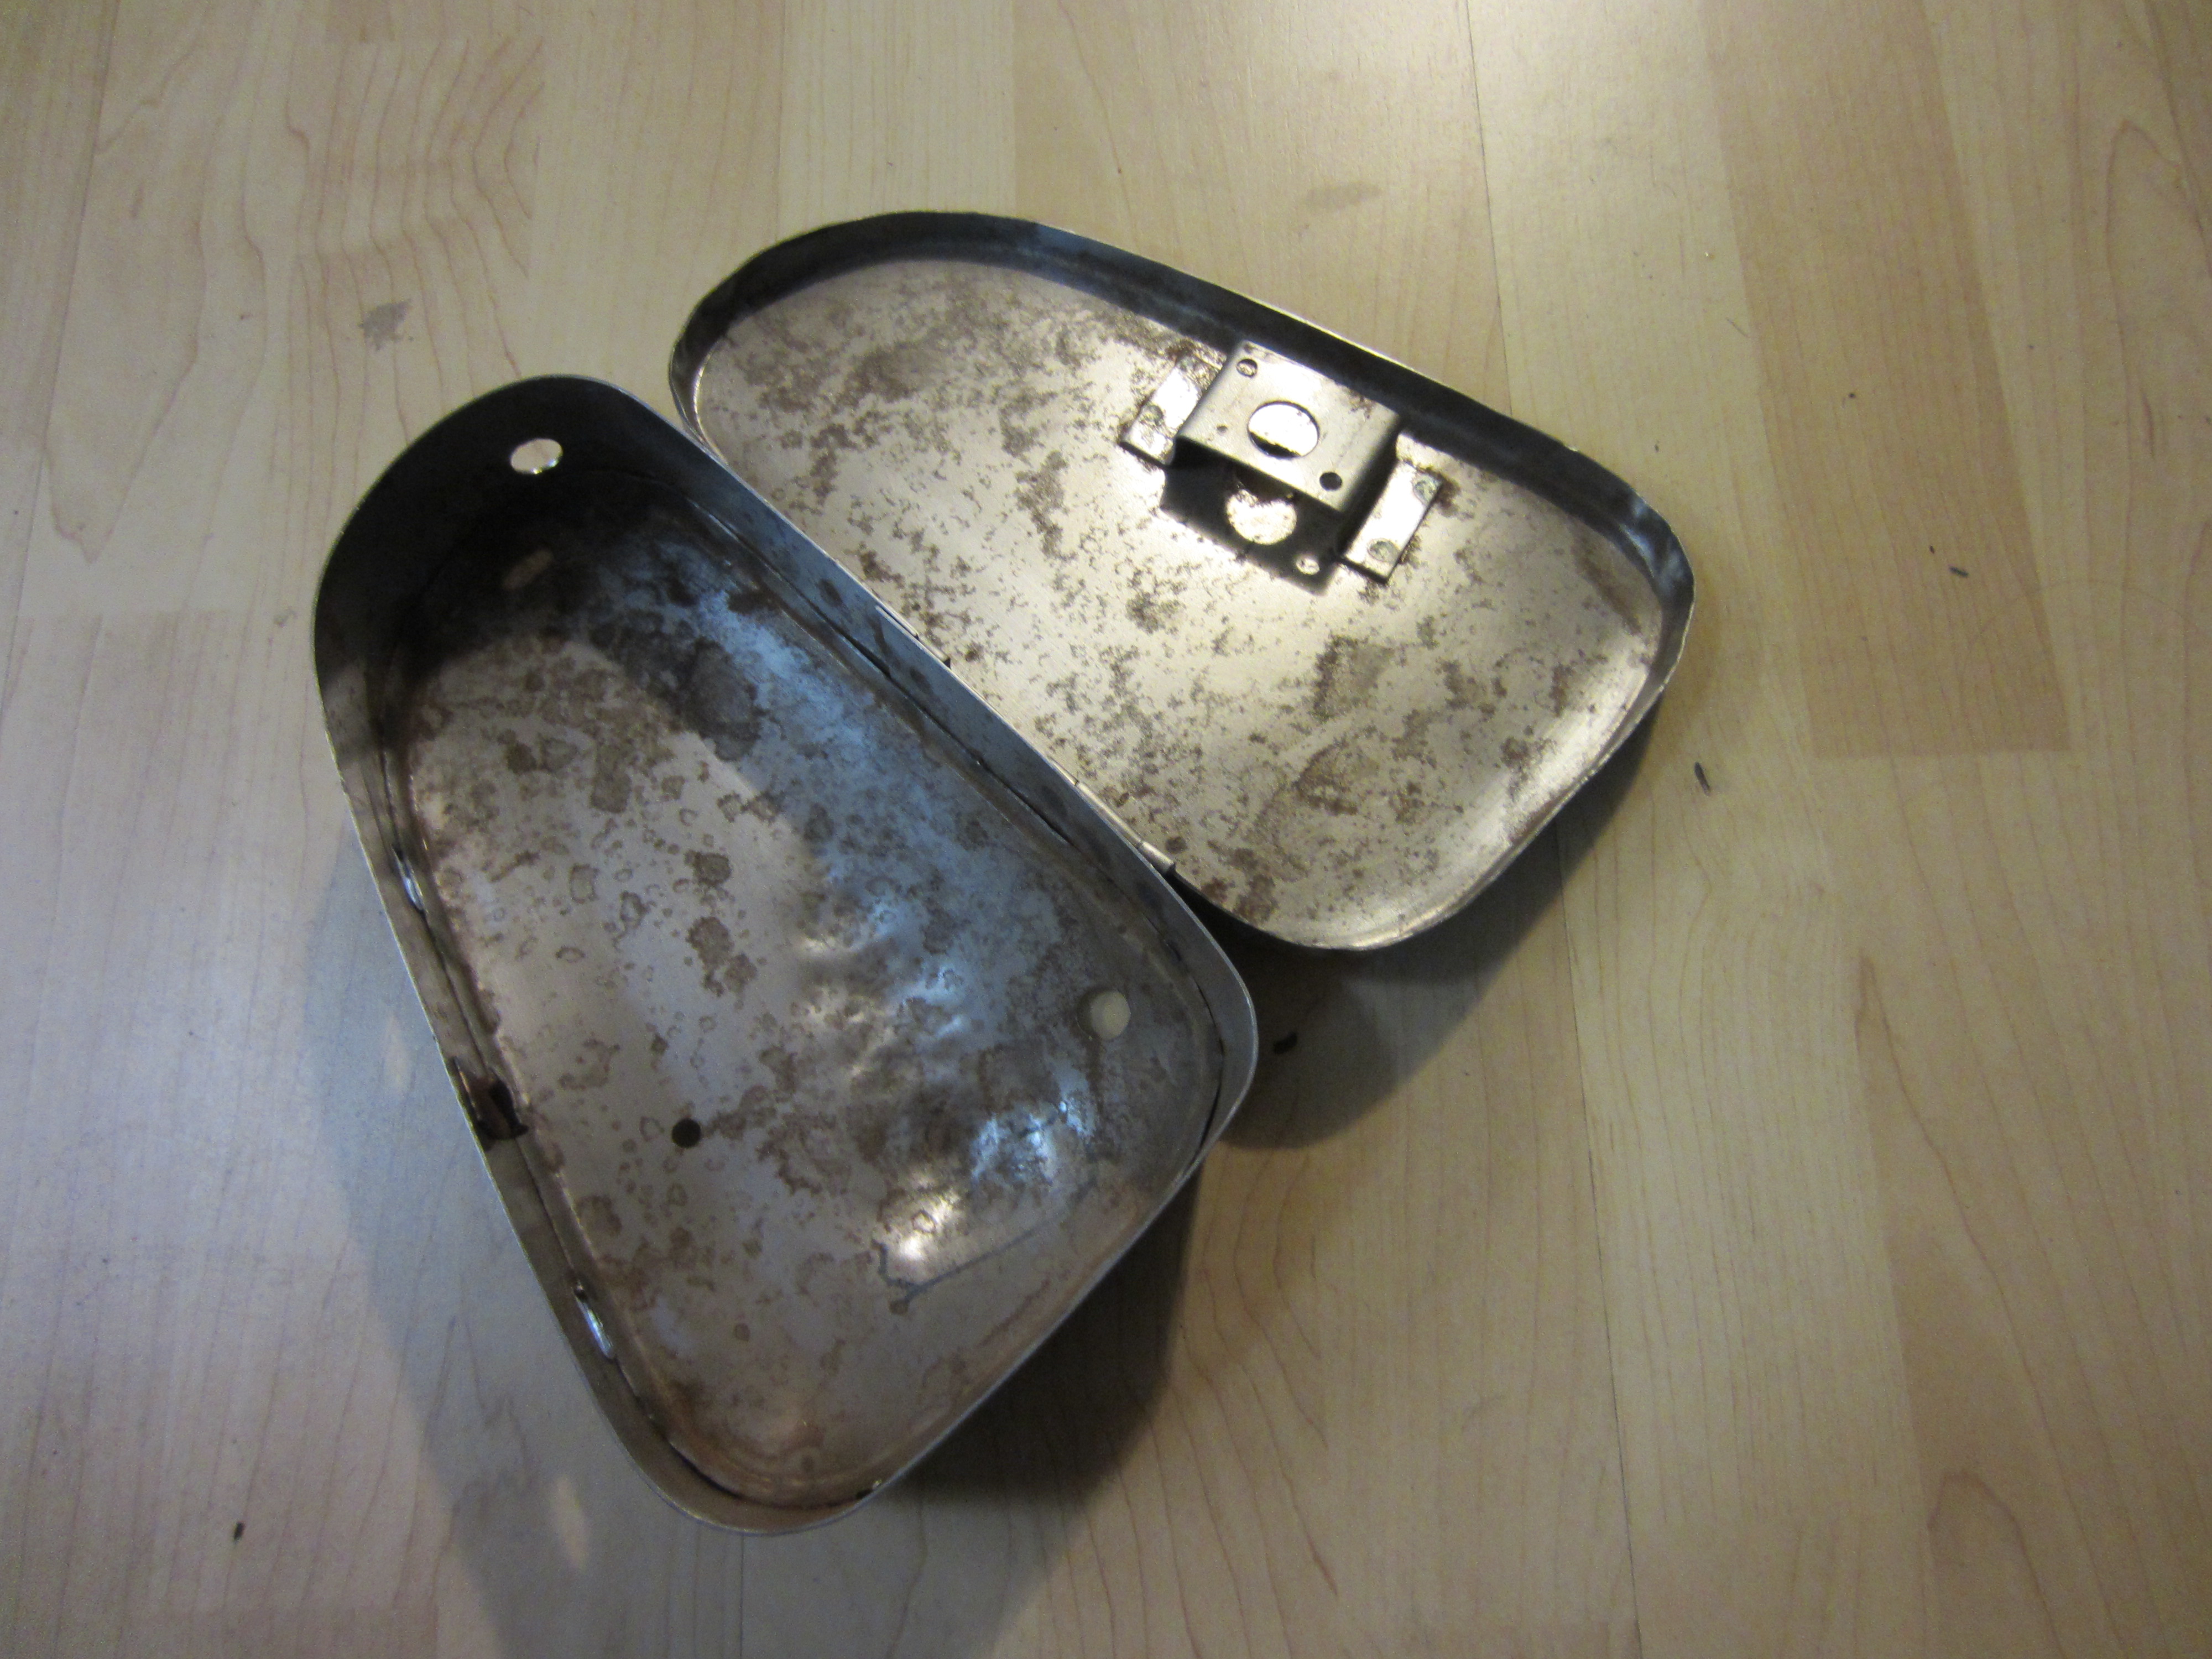
After adding holes for the air hose and wires, I cleaned it up with China knock-off scrubby pad, and prep’d it for paint.

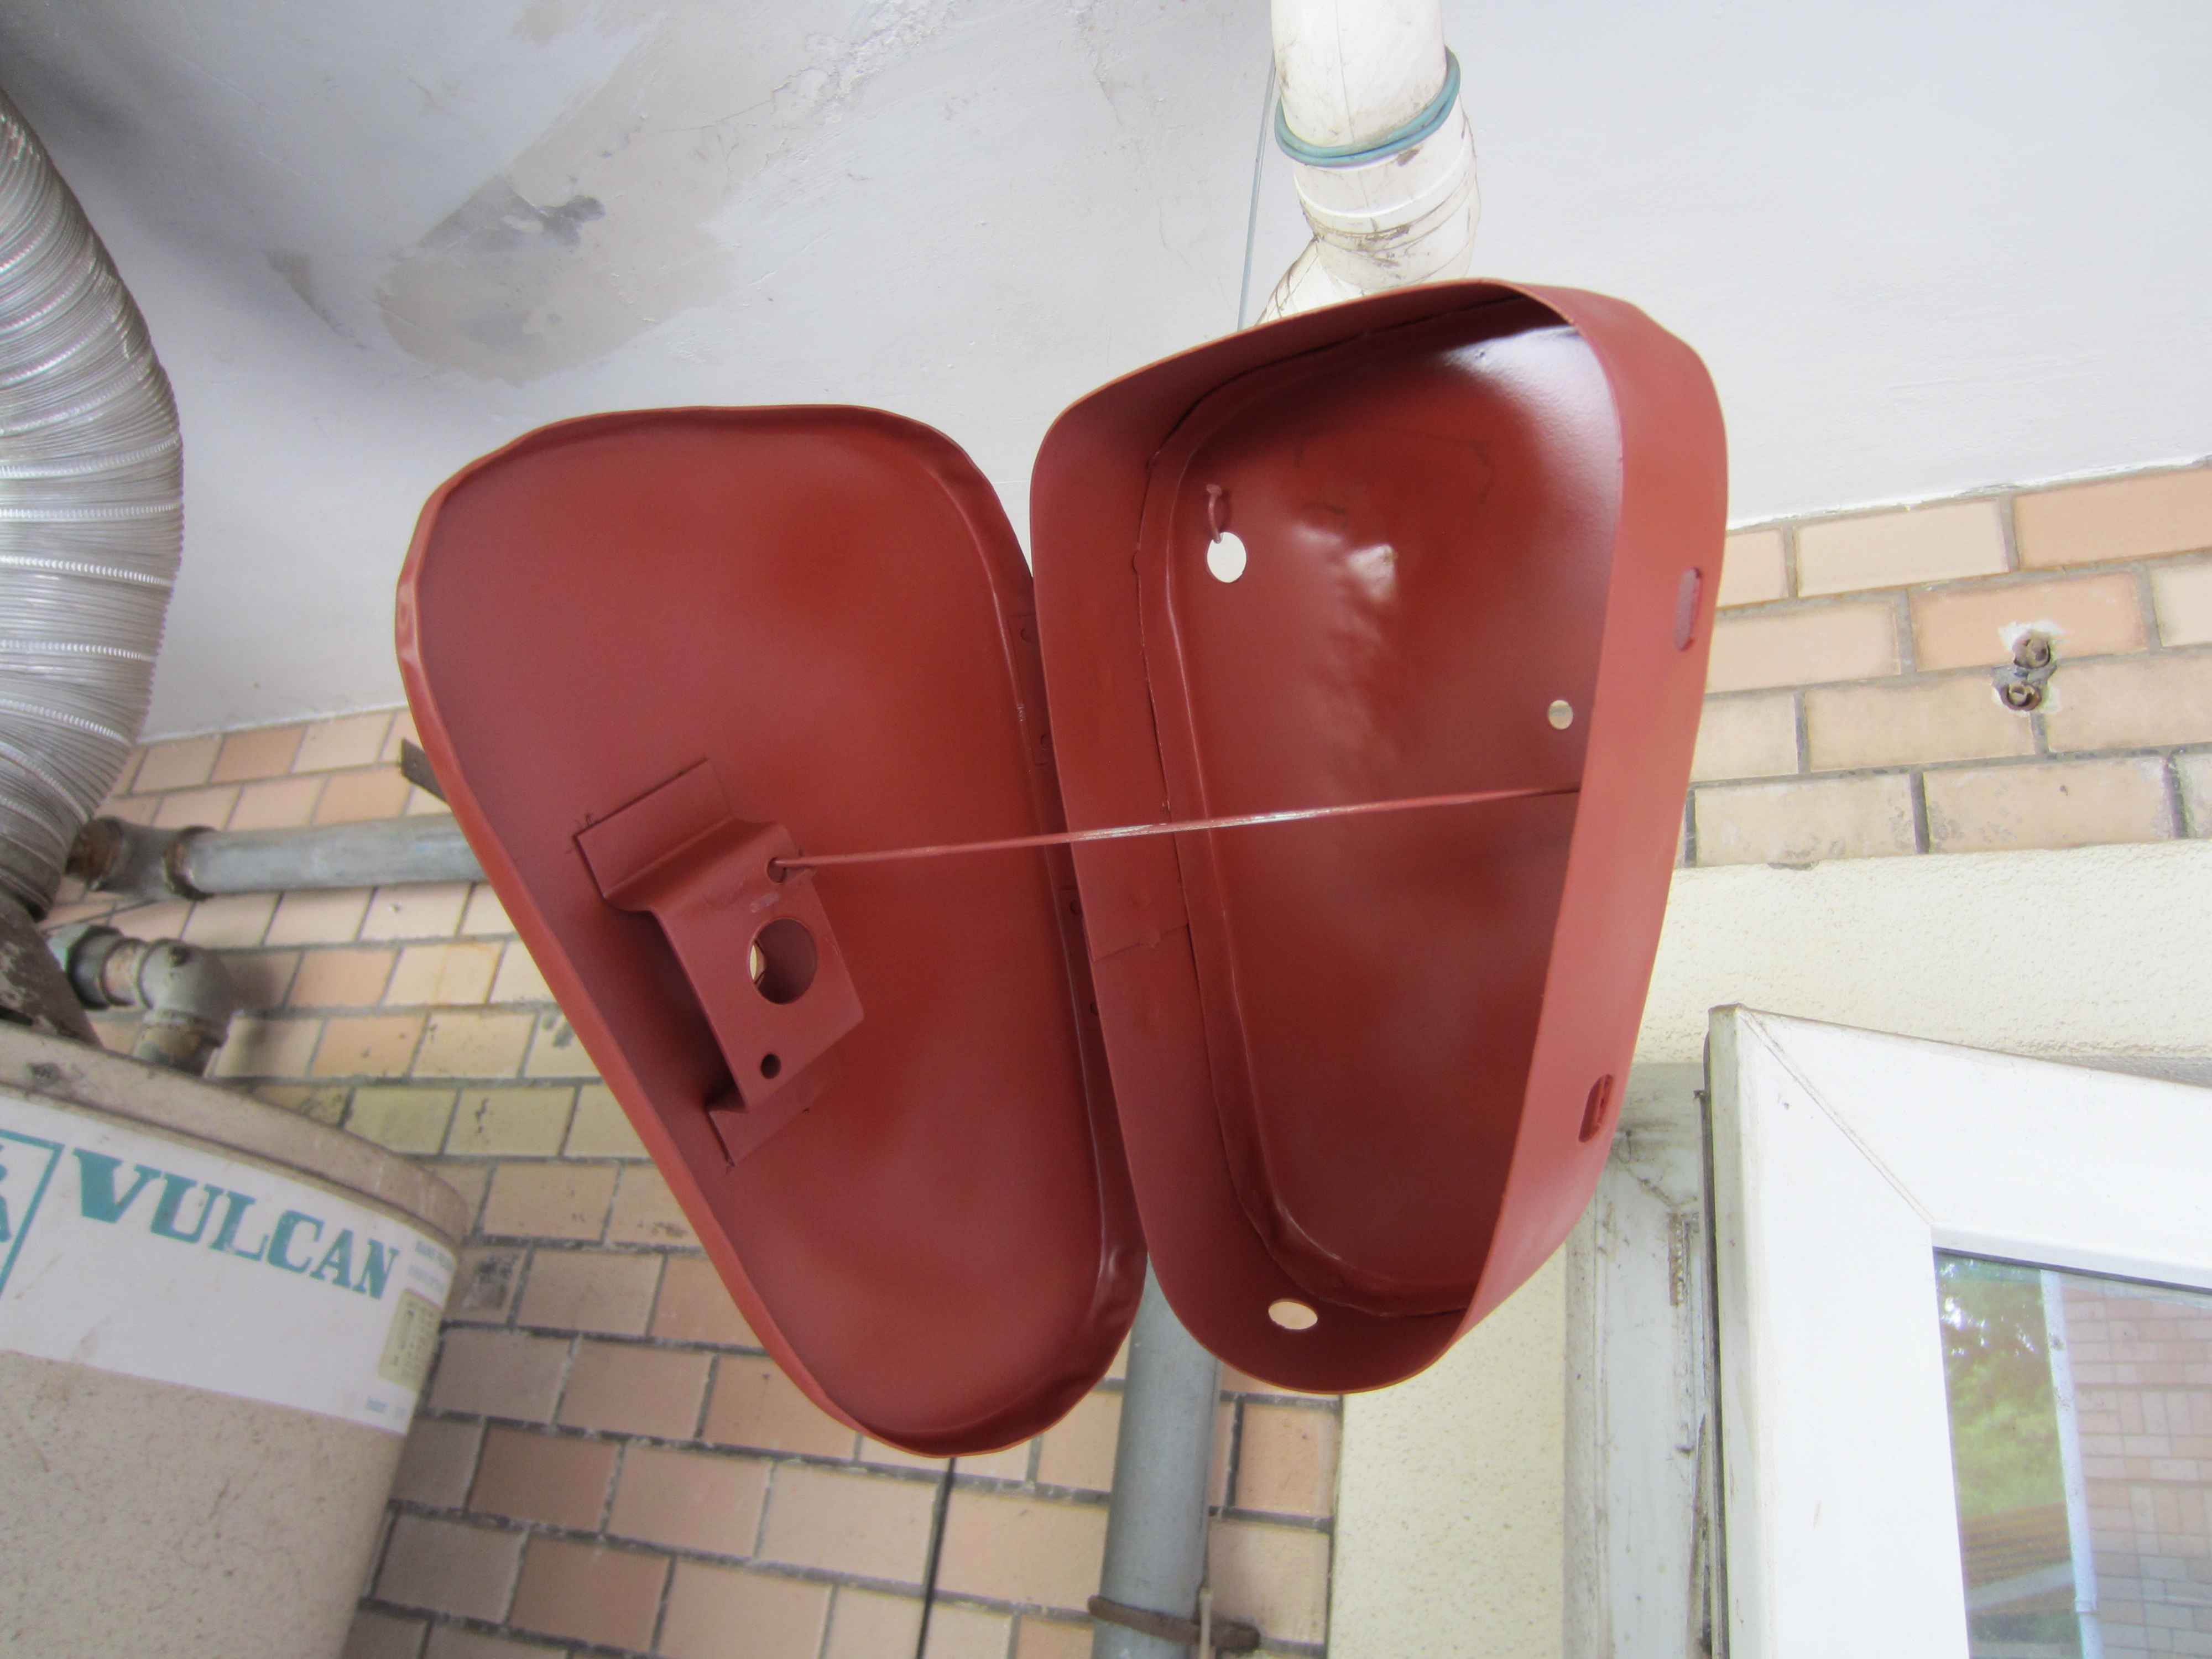
Now for some primer and then several layers of chrome paint!

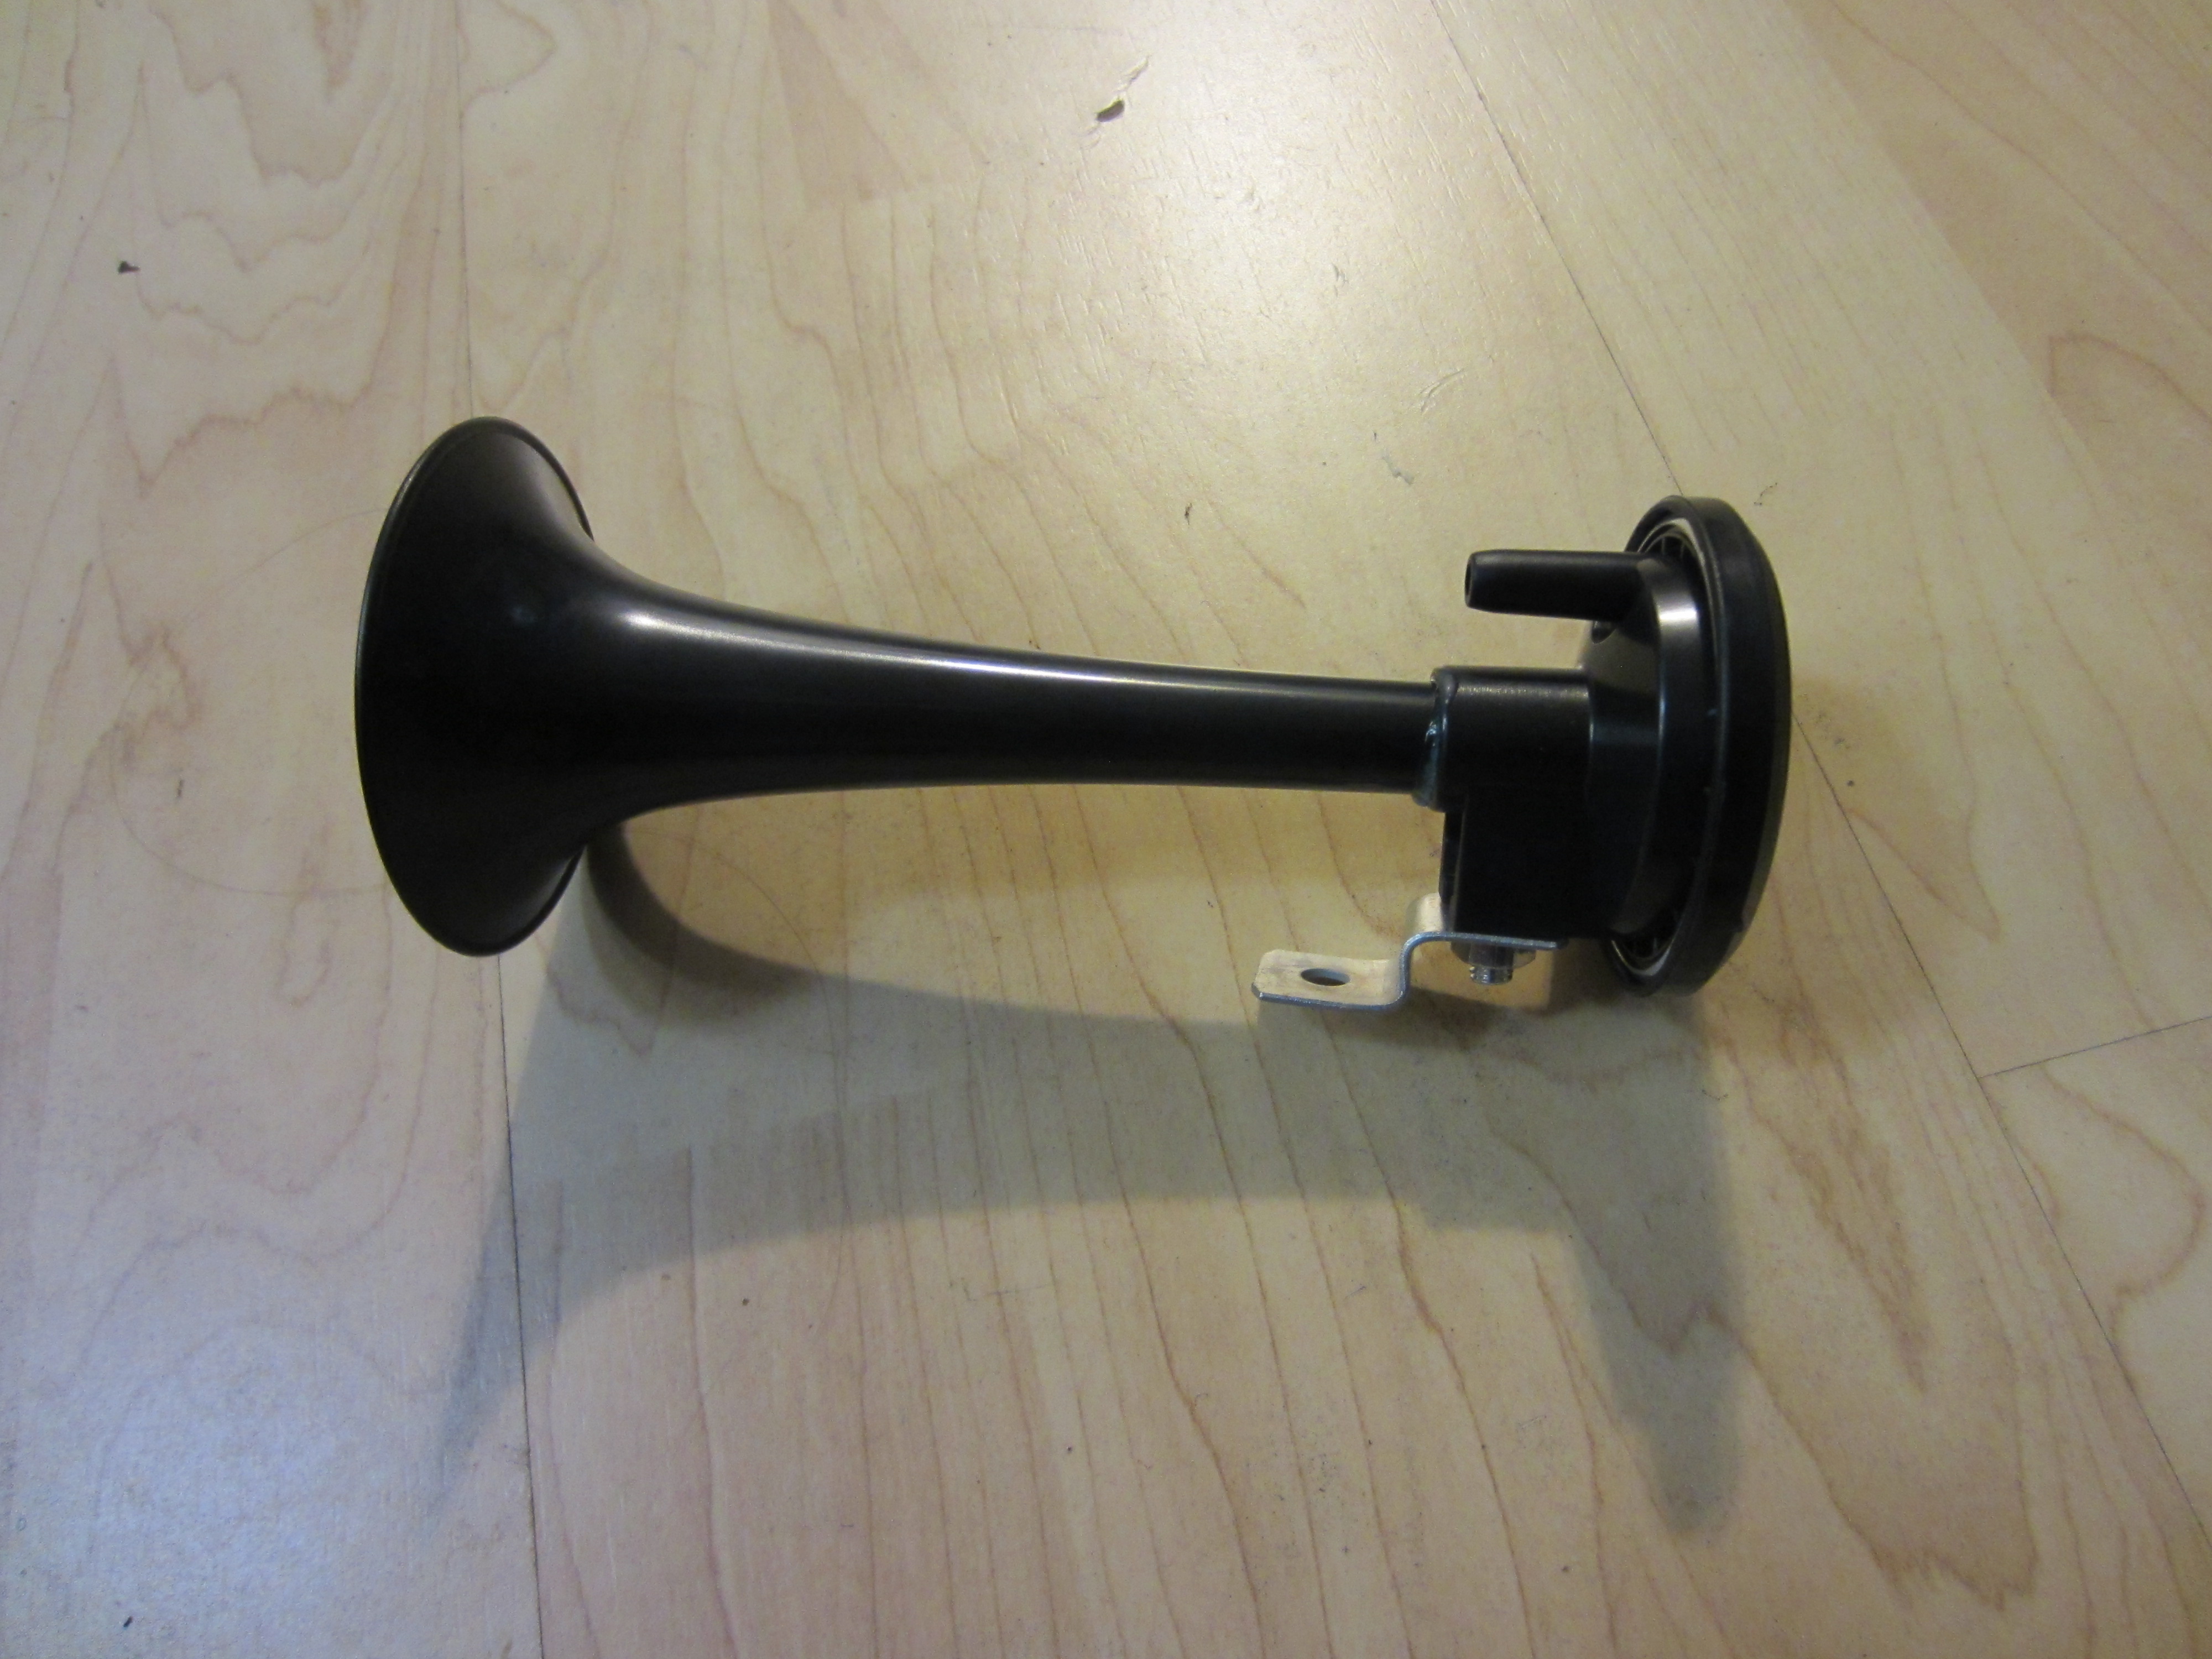
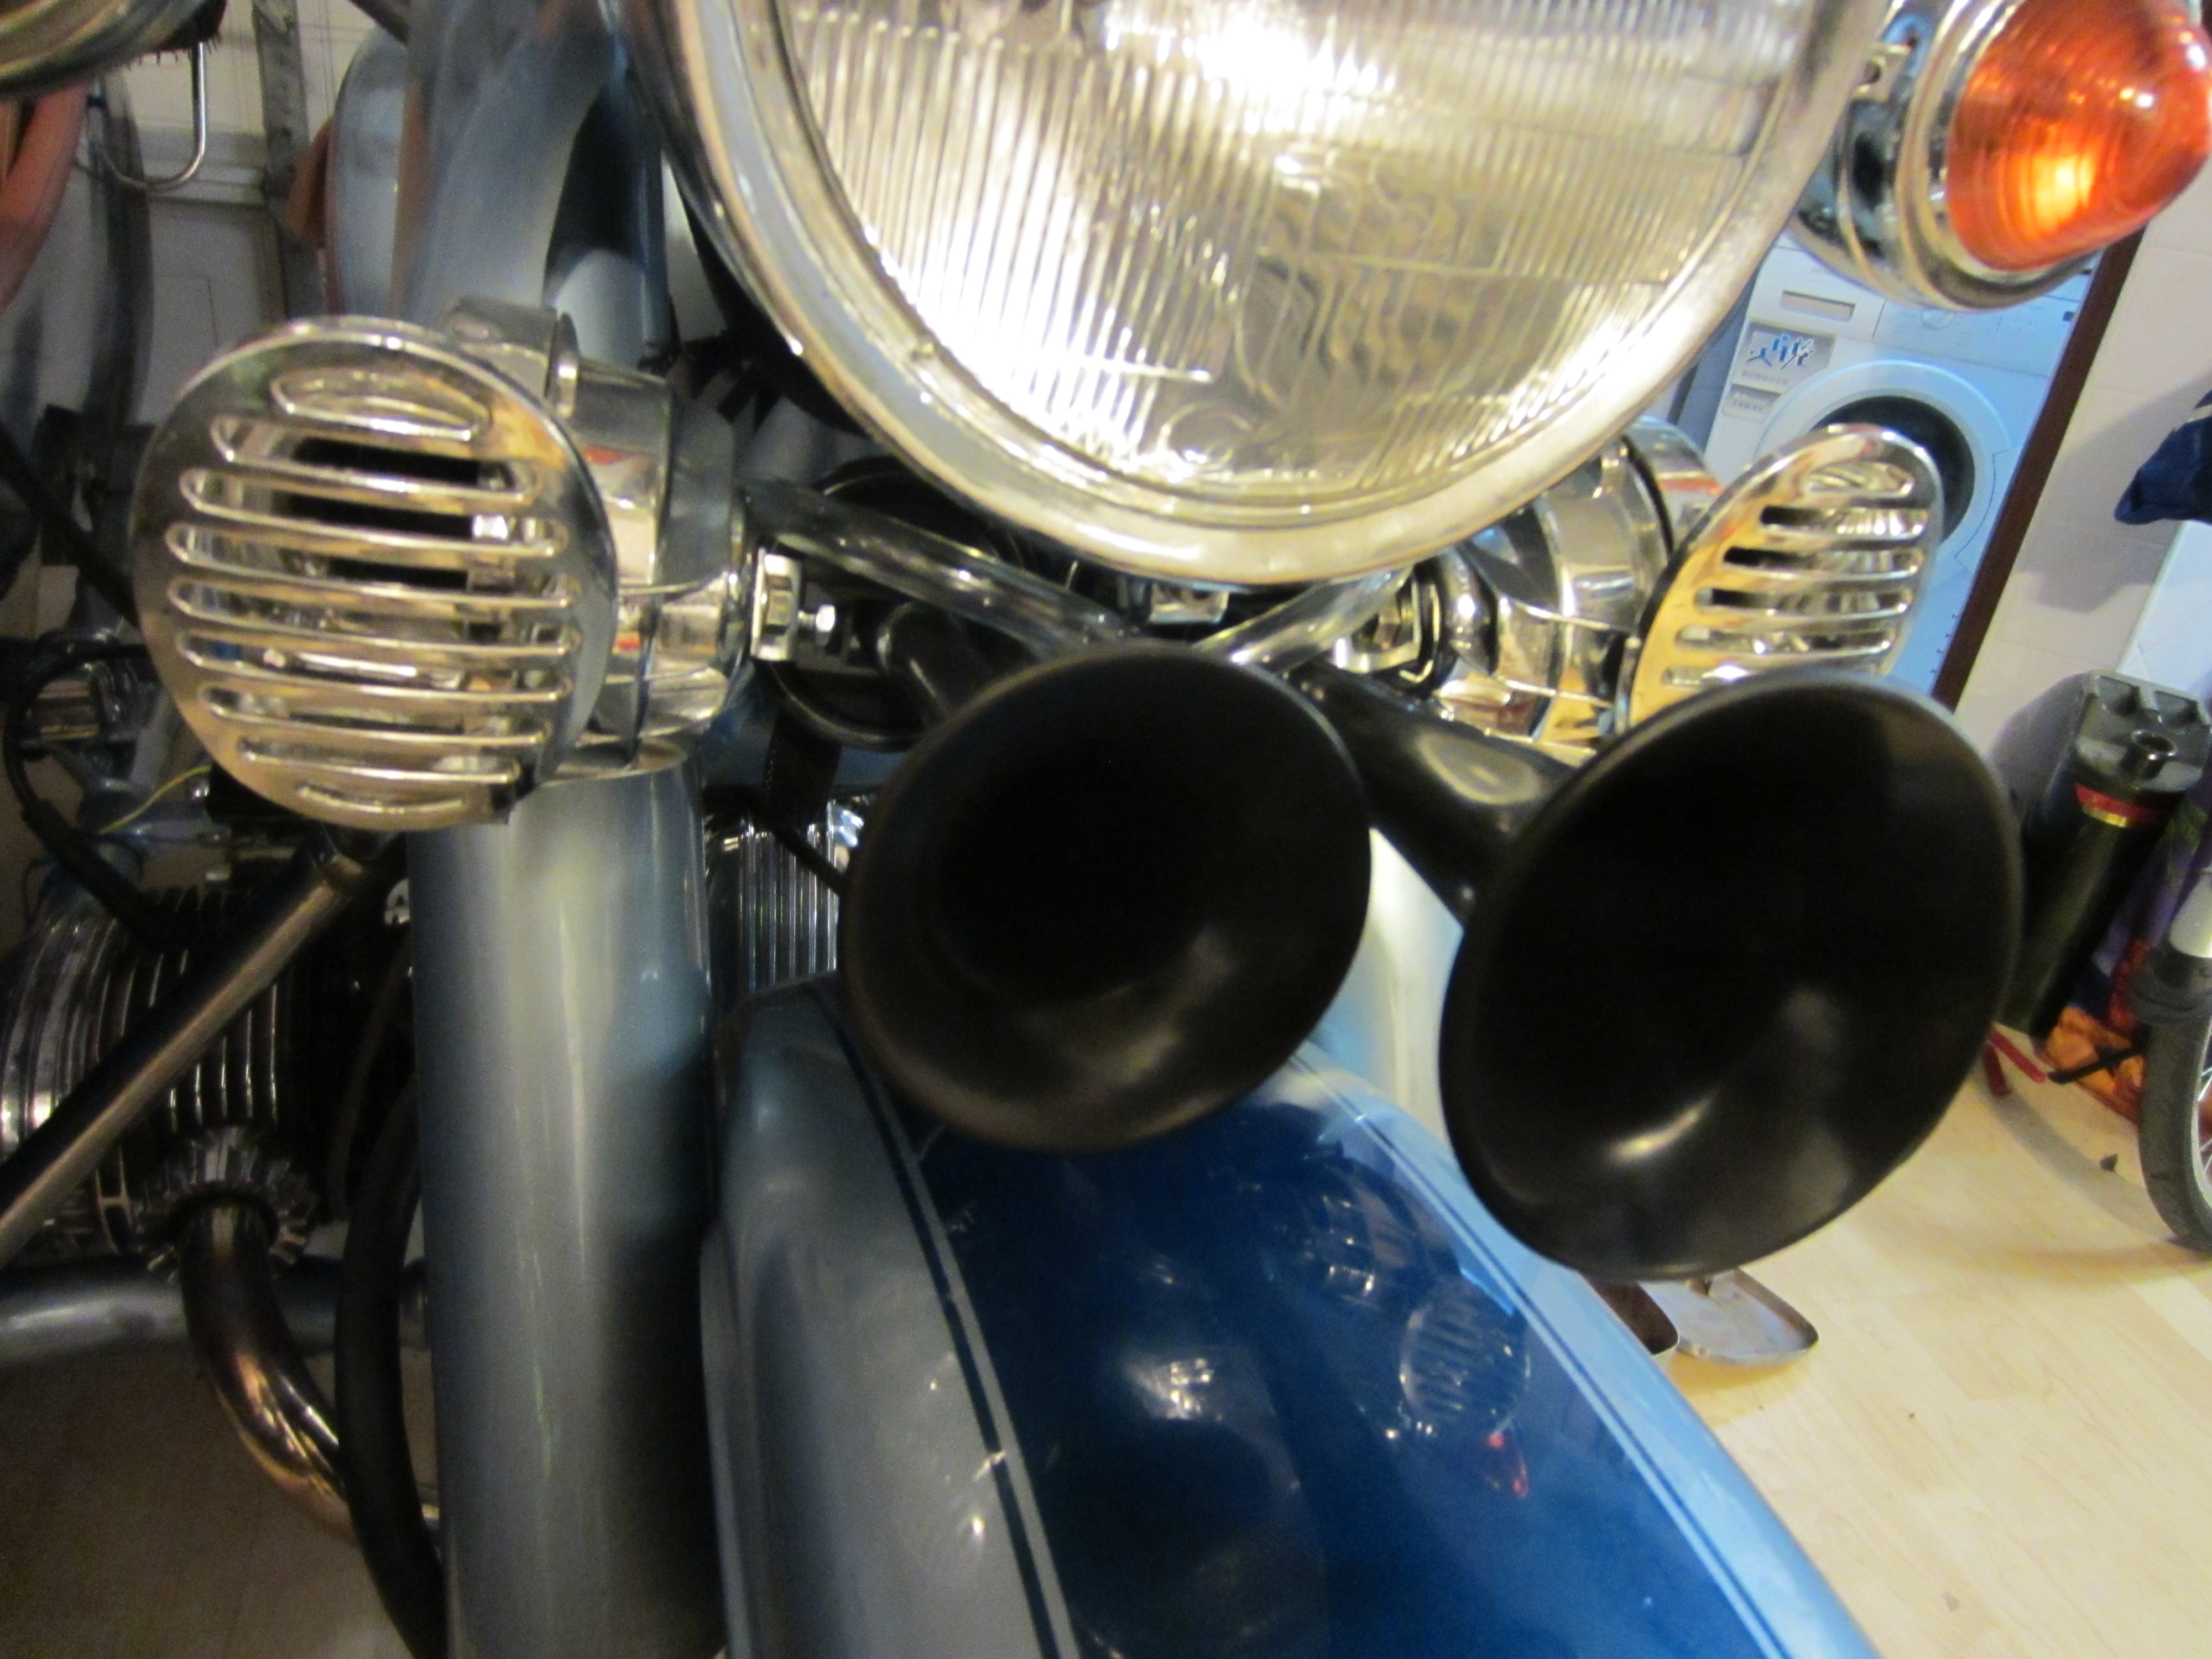
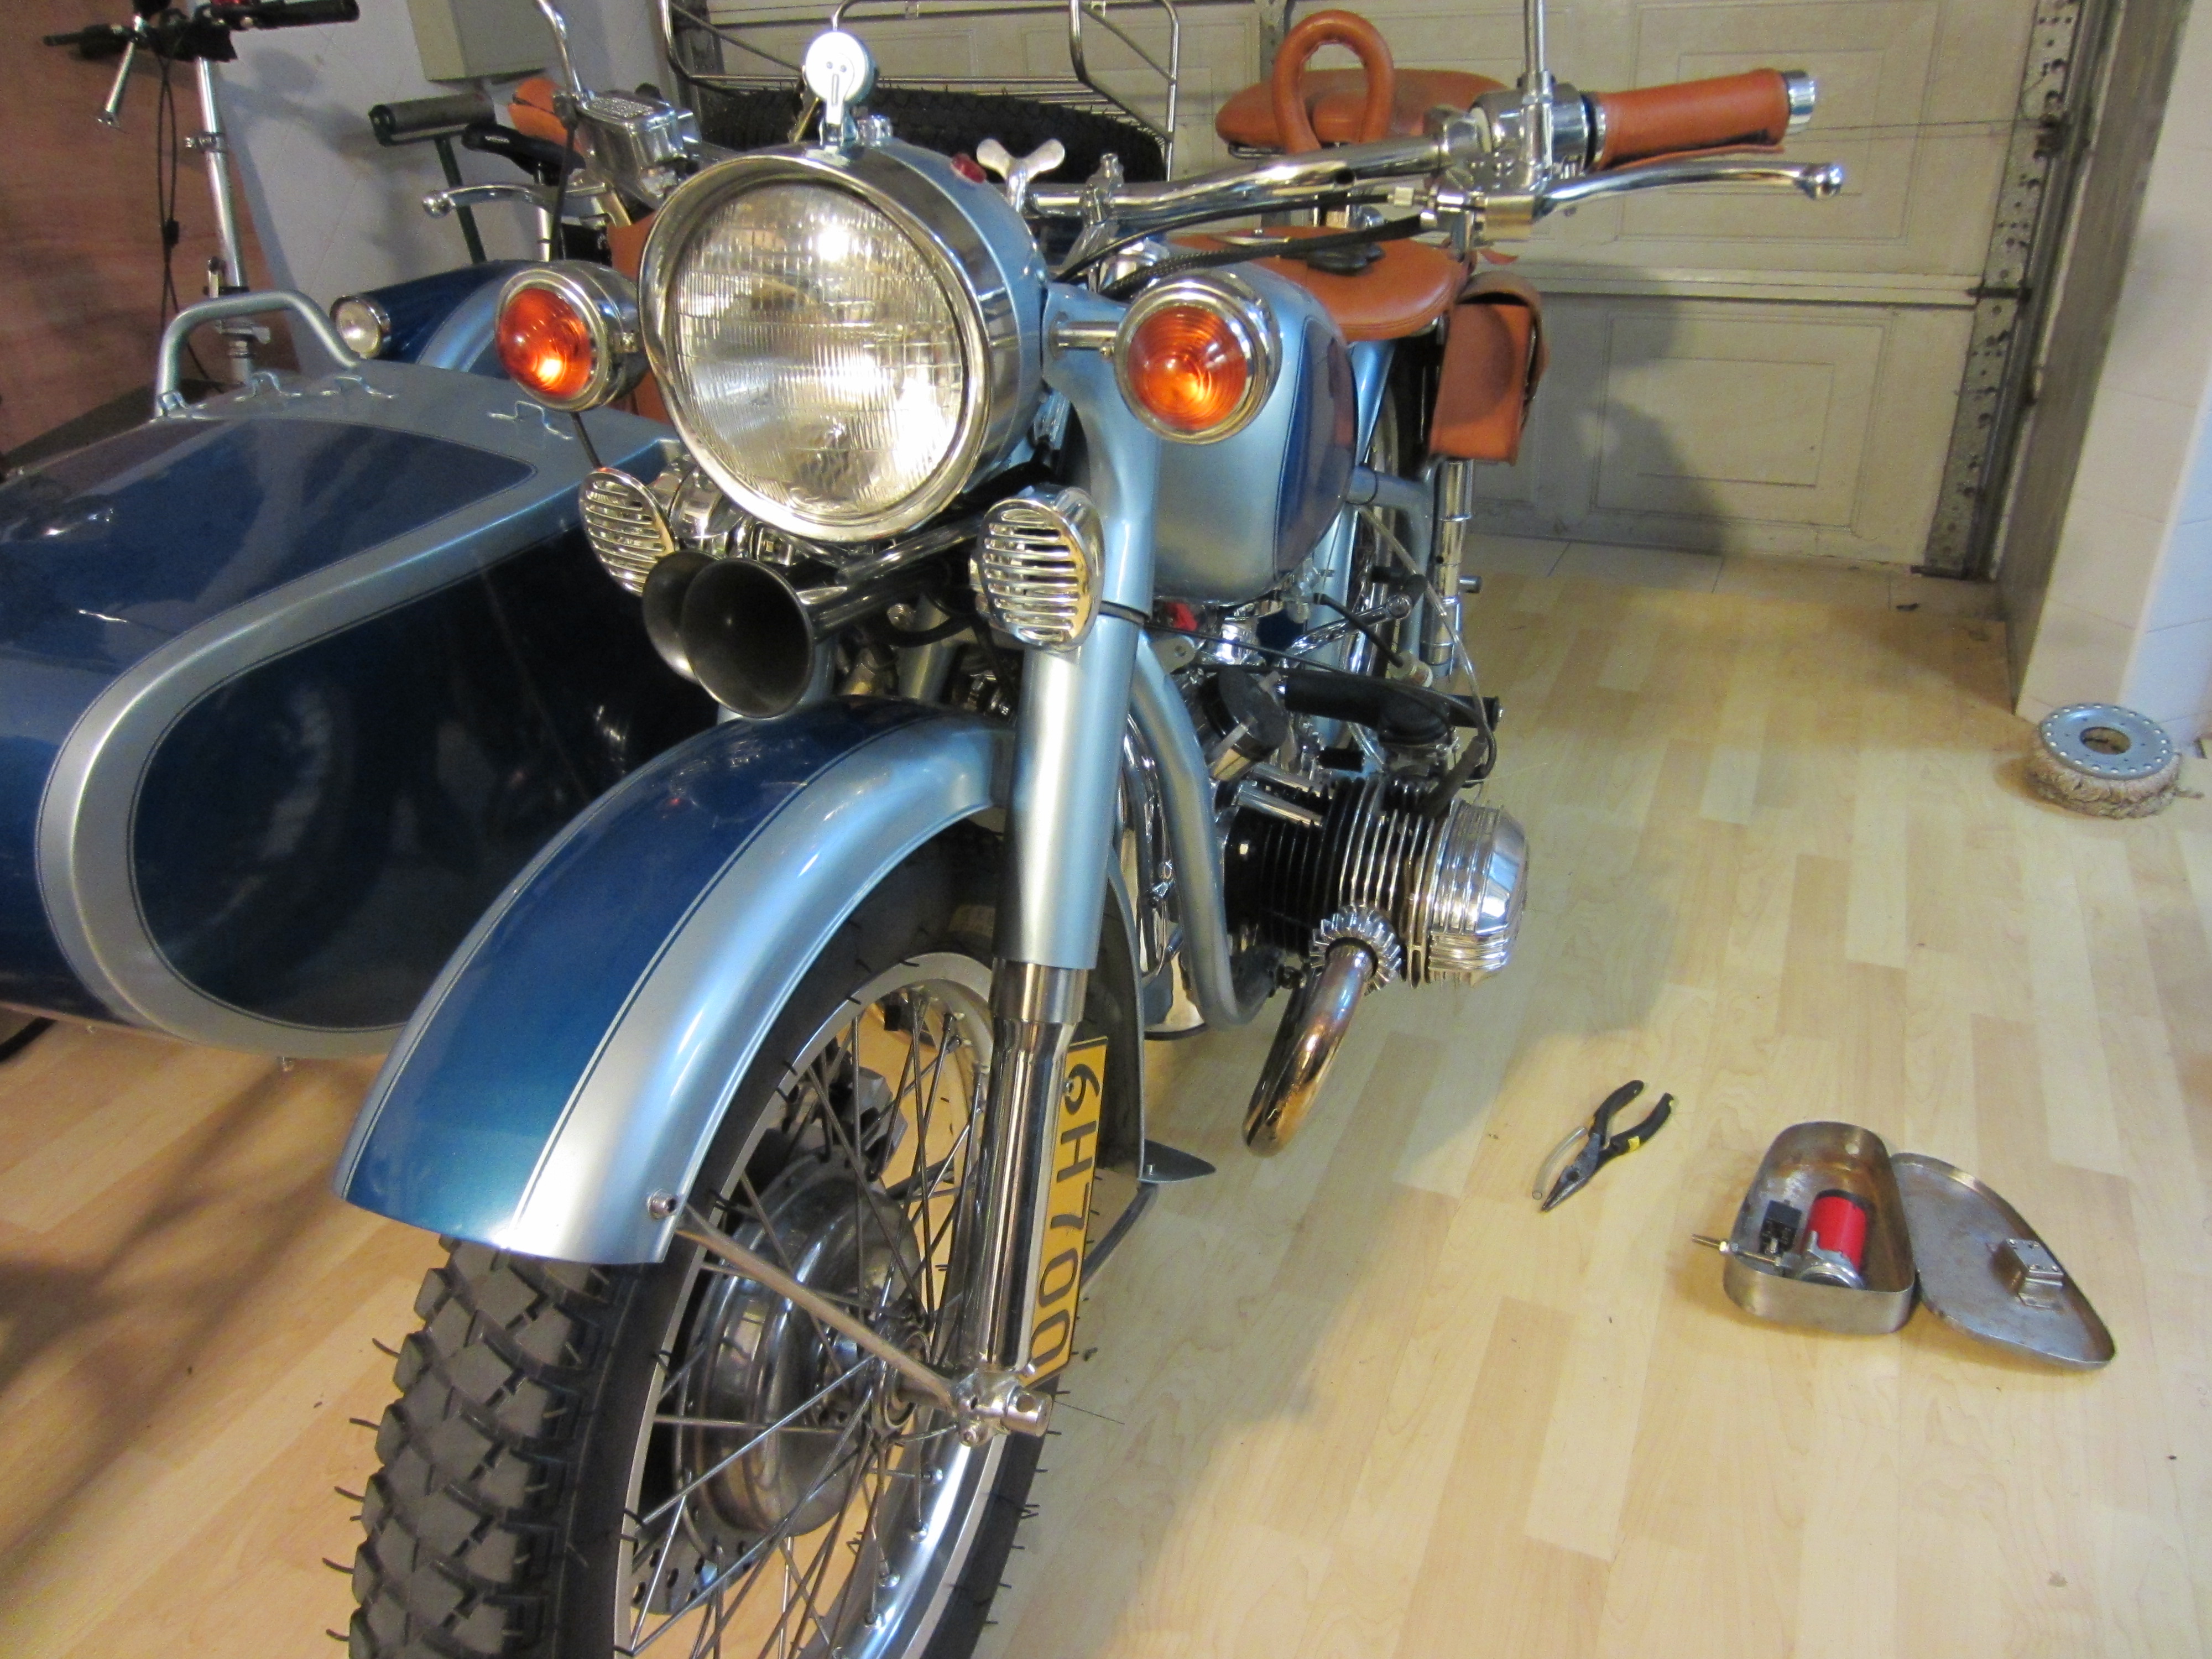
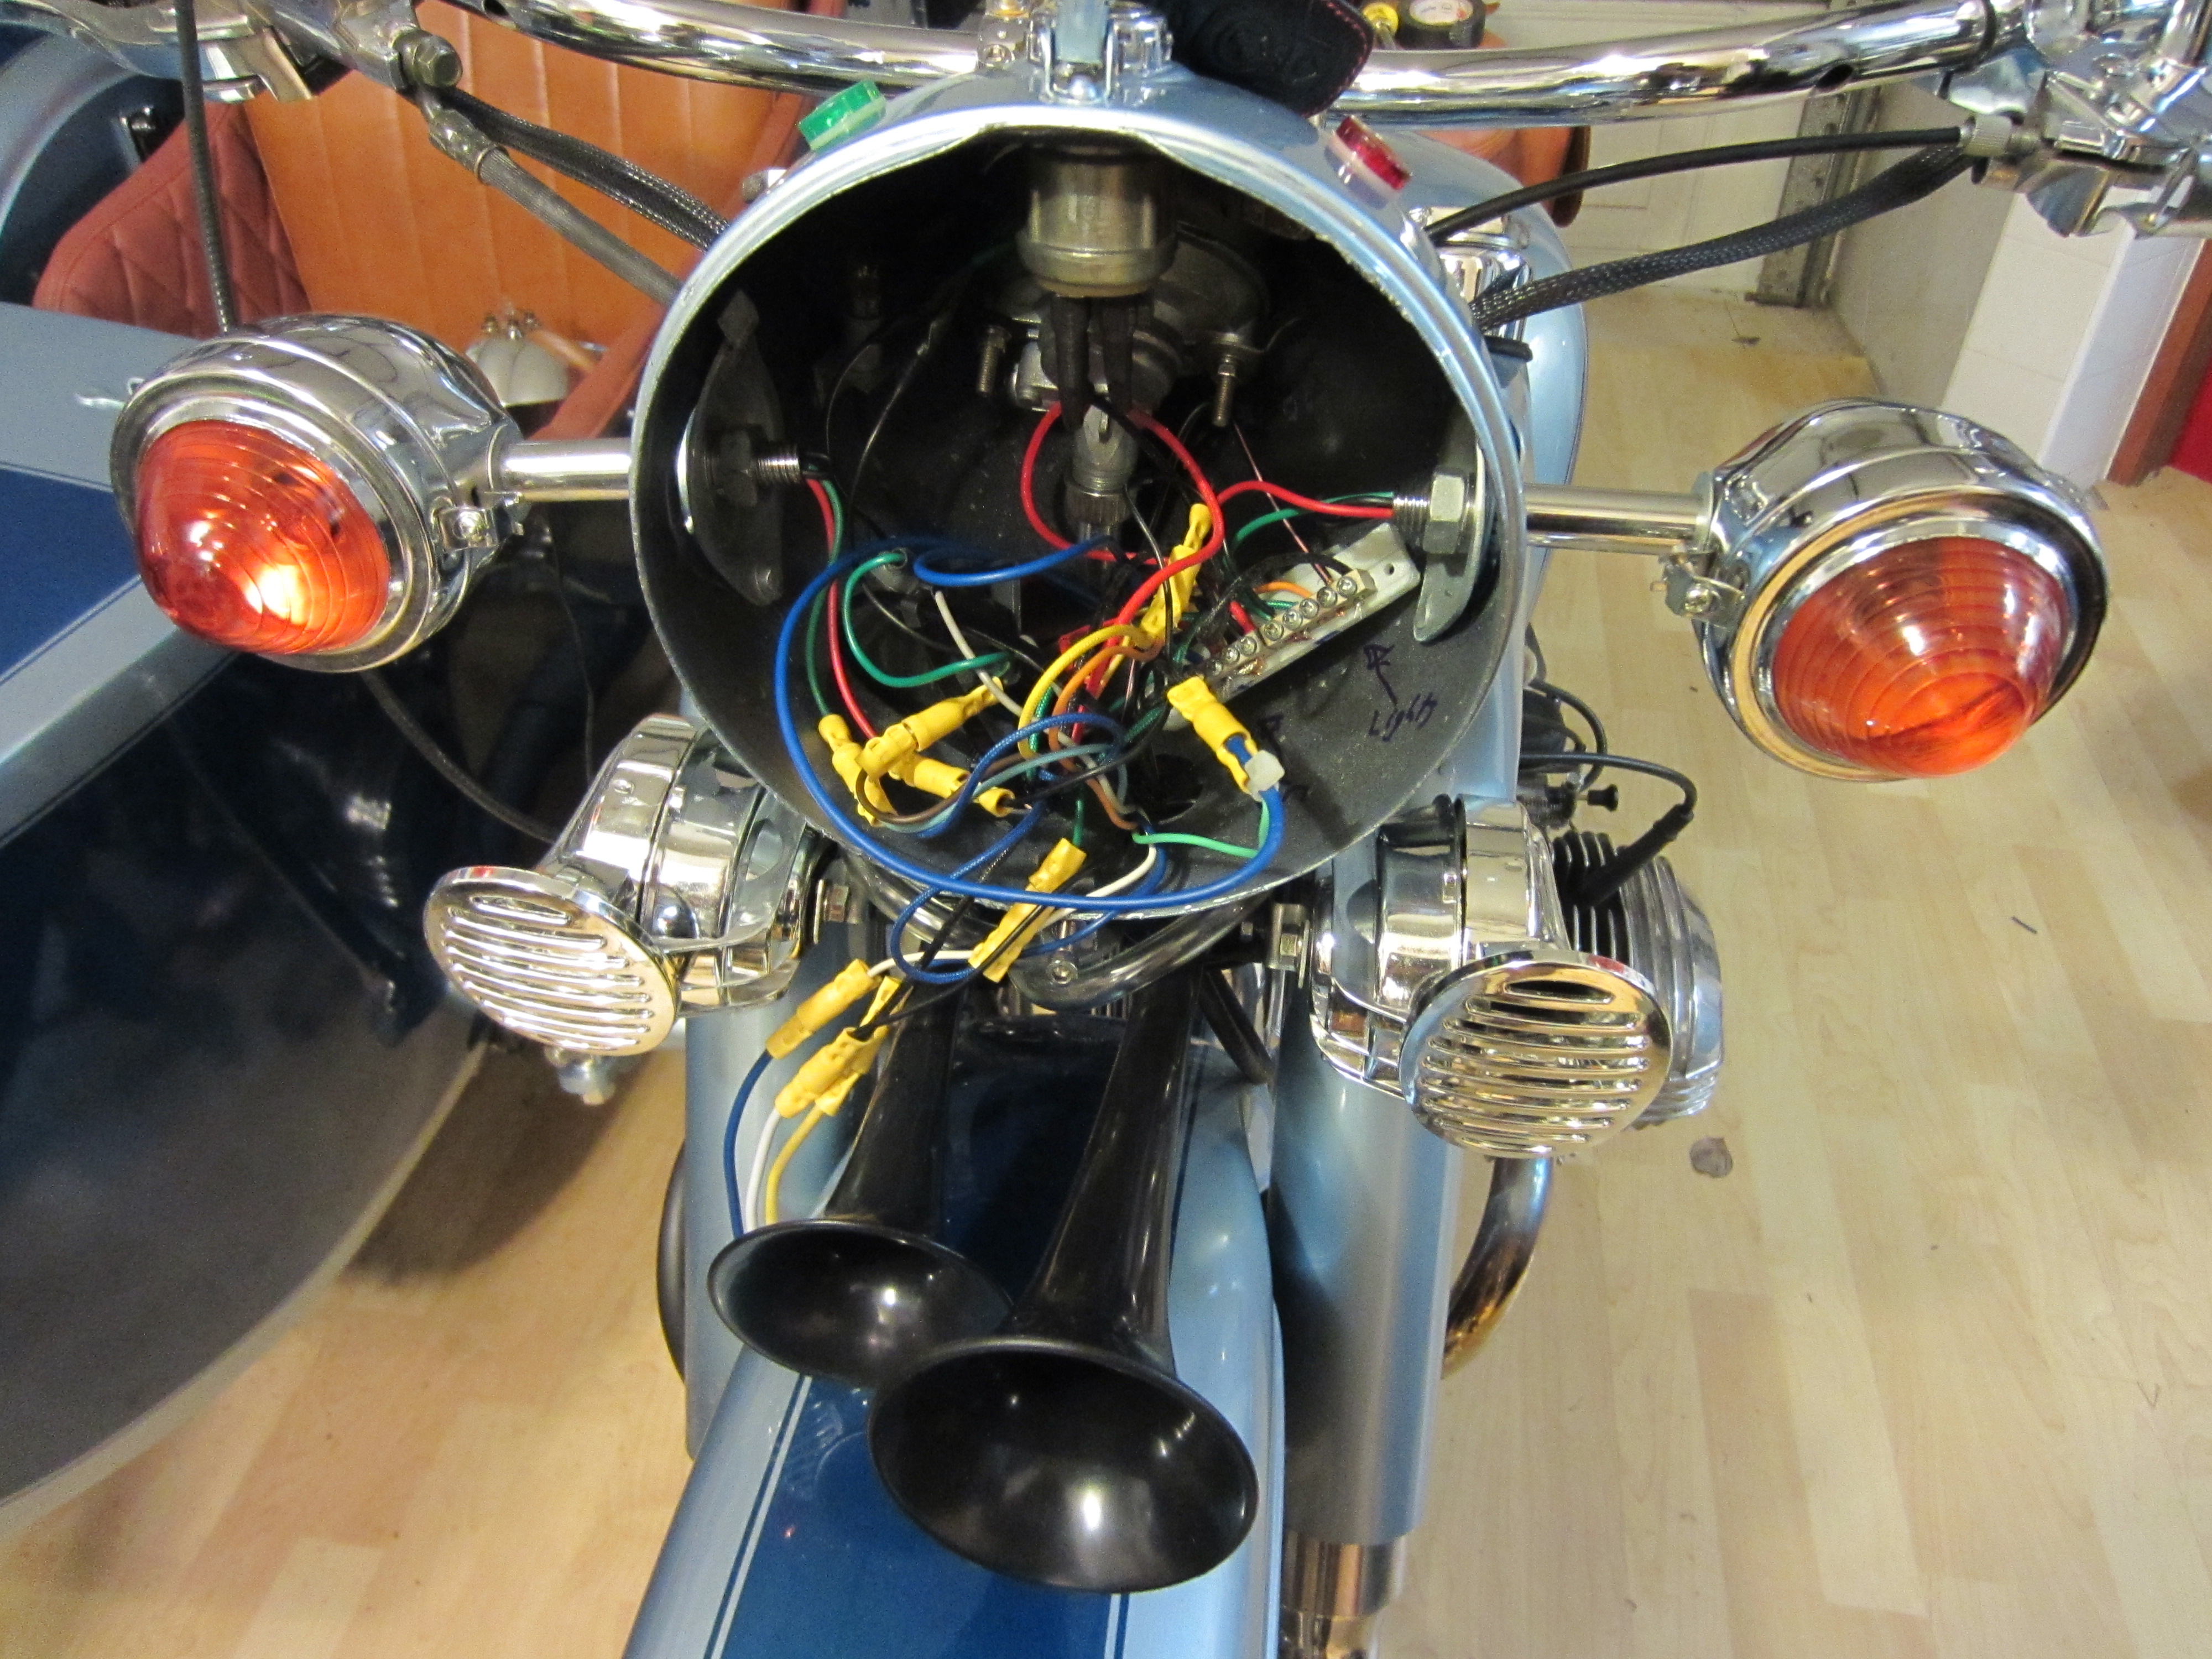
While I was waiting for the paint to dry, it was time to mount the air horns. I wanted them as close to the front as possible for maximum volume, but as cleanly mounted as possible. I figured out a nice location under the headlight and between the existing electric horns. I was even able to use the same mounting bolts!
Now I needed to figure out a mount for the toolbox. Normally these bikes have mounting studs welded to the frame, but mine didn’t have that. I didn’t want to mess up the paint job by welding on it, so I wanted to have a clamp-on method. I ended up bending some stainless steel rod that bolts to the toolbox with rubber isolators, and then clamps to the frame with some hose clamps cushioned by some chunks of inner tube. The little butane torch helps to heat the SS rod to make it easier to bend.

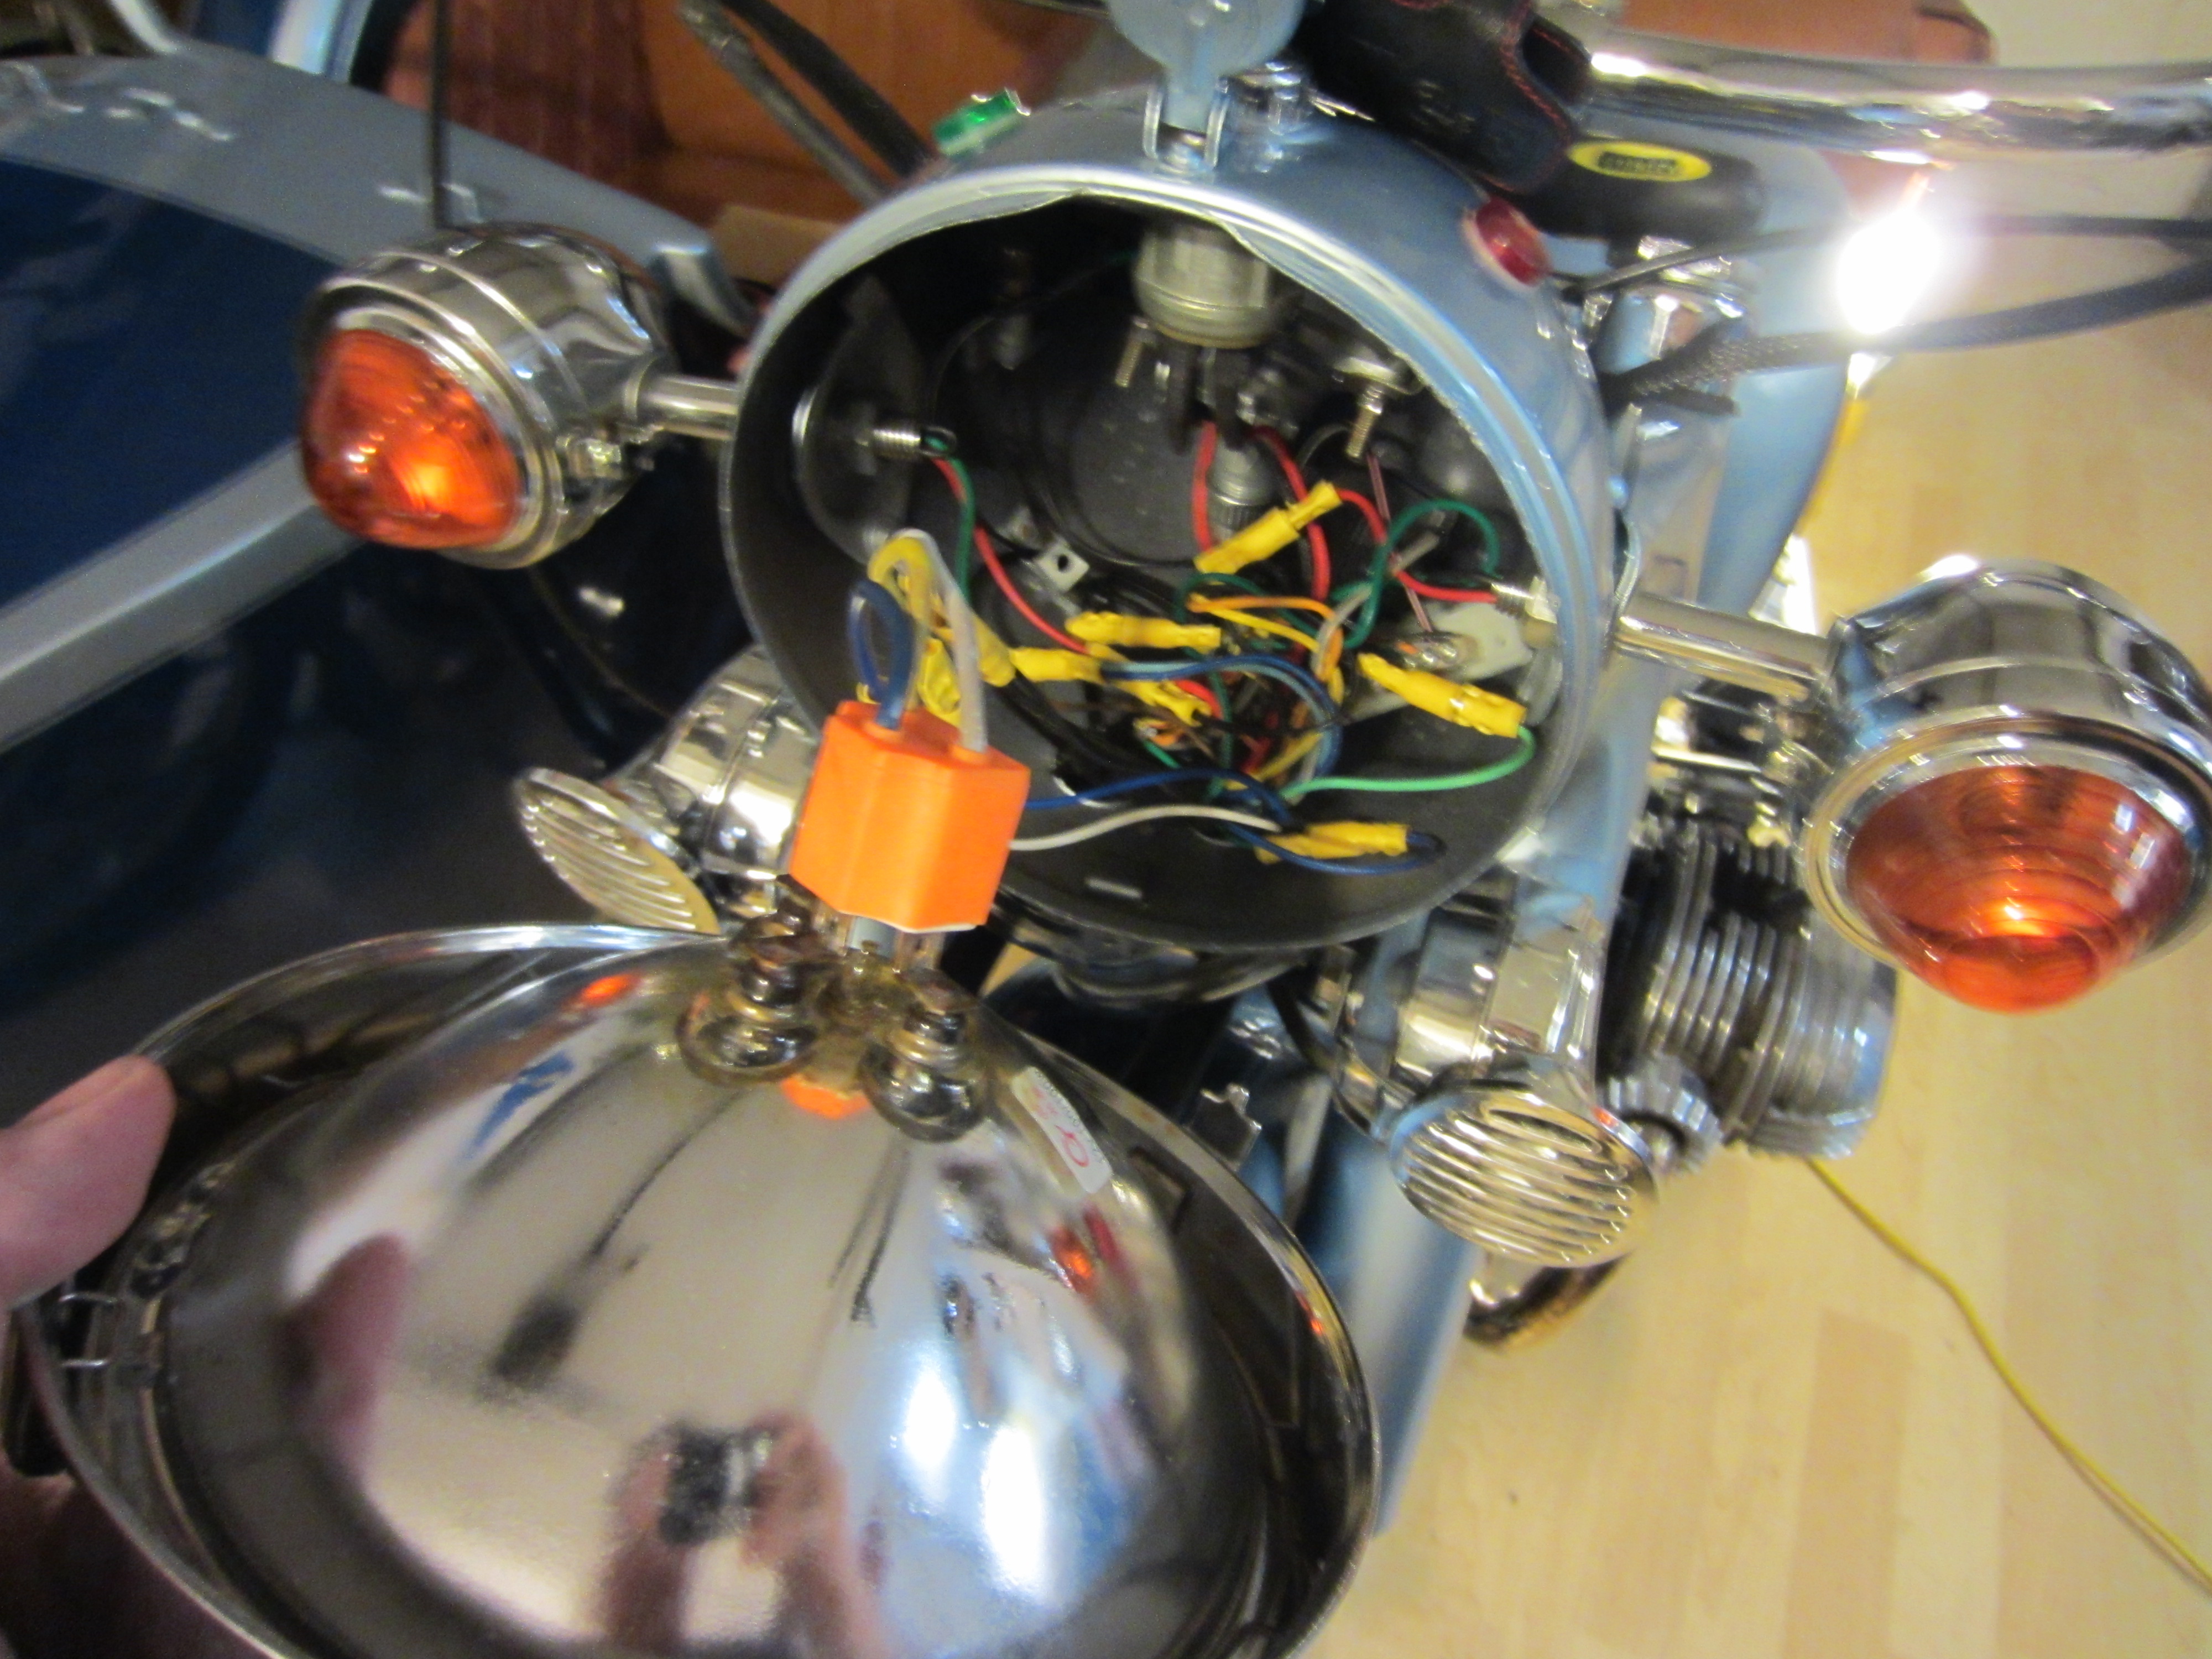
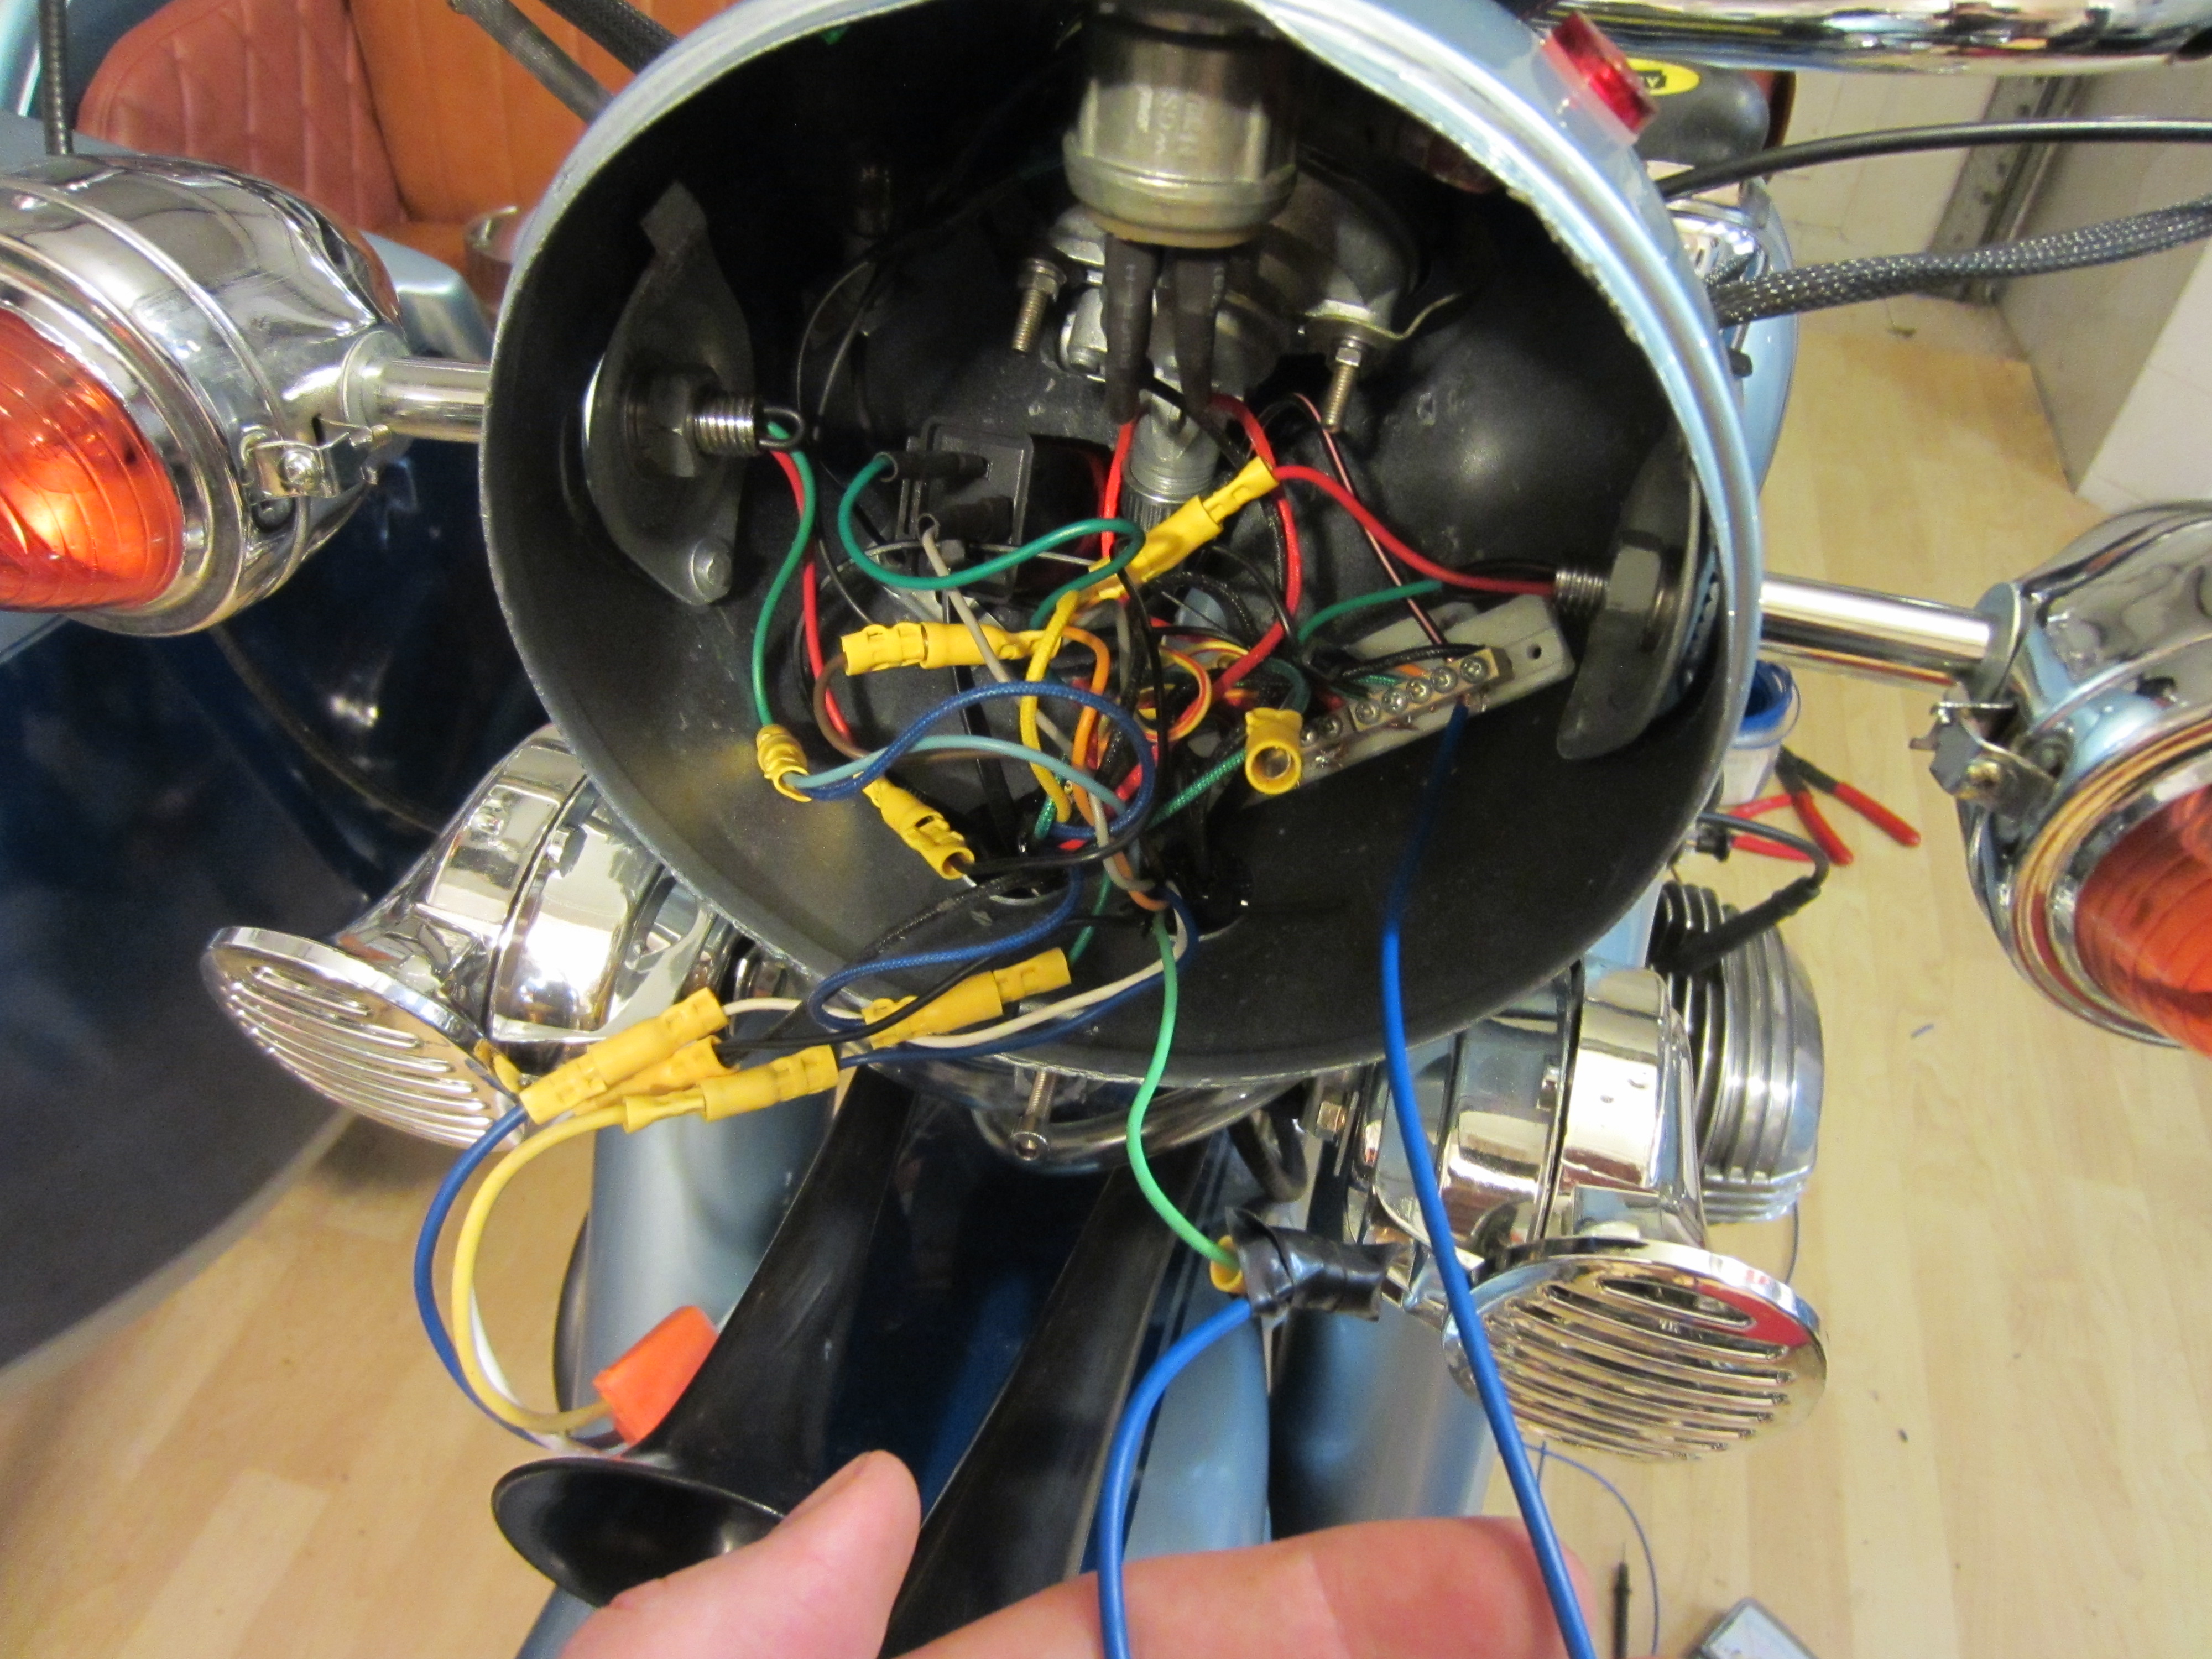
After getting everything mounted, it was finally time to wire it all up. I first connected the solenoid to the compressor, and then the main power from the battery. I then ran some long jumper wires to test where to hook it up inside the headlight where the main motorcycle wiring resides. After tracing wires, I thought I had it hooked up correctly, so I gave it a try, with the air hose disconnected (didn’t want to irritate the neighbors), and it would only work when the lights were on!!! After a bit more of head scratching, I finally found the right block to connect to and then it worked just fine. Then I soldered the wire connections, and ran them properly along the frame, going under the gas tank to hide them as much as possible.
Finally complete, and it is awesome! They are annoyingly loud, and have been proven to stop traffic! I’m helping to educate other drivers, one horn blast at a time.
$6 for air horn kit
$18 for toolbox
$20 in misc wire, connectors, hardware & paint
Stopping China traffic: PRICELESS!!!
